Marketplace and ecommerce listings
Upload the product photo you already use for Amazon, Shopify, or marketplace listings and turn it into a cleaner studio-quality version without reshooting every SKU.
Start with the product photo you have, even if it was shot quickly on a phone. Clean the background, improve lighting and detail, and turn it into a studio-quality image for PDPs, ads, and catalog work.
Enhance lighting, clean up backgrounds, and add commercial polish while keeping the product exactly as it is.
The goal is not to redesign the item. The goal is to make the original capture look intentional, premium, and ready to convert.
The job is not to redesign the product. The job is to make the source image sell better.
Start from the clearest source frame you have, then upgrade the frame around it.
This use case is for teams that already have the product in frame and need a stronger sell-through image fast.
Upload the product photo you already use for Amazon, Shopify, or marketplace listings and turn it into a cleaner studio-quality version without reshooting every SKU.
Use it when you need stronger product creative for paid media, launches, and seasonal updates without booking a new shoot every time.
Start from the iPhone shot you took on a kitchen table, desk, or warehouse shelf and turn it into something polished enough to sell.
This usually starts in image-to-image editing. Once the direction works, finish with upscale or batch outputs only if you need more coverage.
Pick the clearest source frame you have with readable packaging, visible edges, and a product angle you want to keep grounded.
Ask for cleaner backgrounds, better lighting, sharper material detail, and more premium styling while explicitly keeping the real product intact.
Once one edit works, use the upscaler for cleaner export quality or batch workflows to carry the same look across more assets.
These examples keep the transformation visible so you can judge the edit, not just the finished aesthetic.
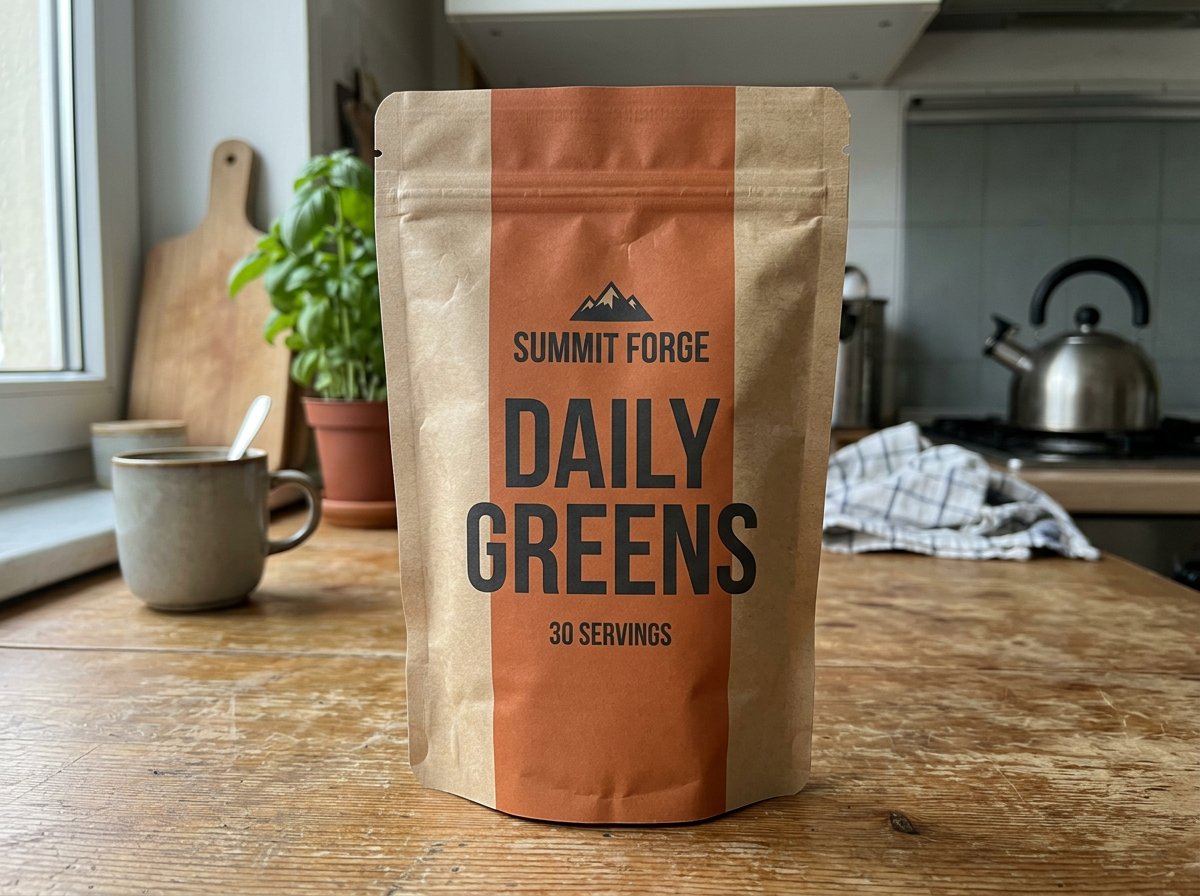
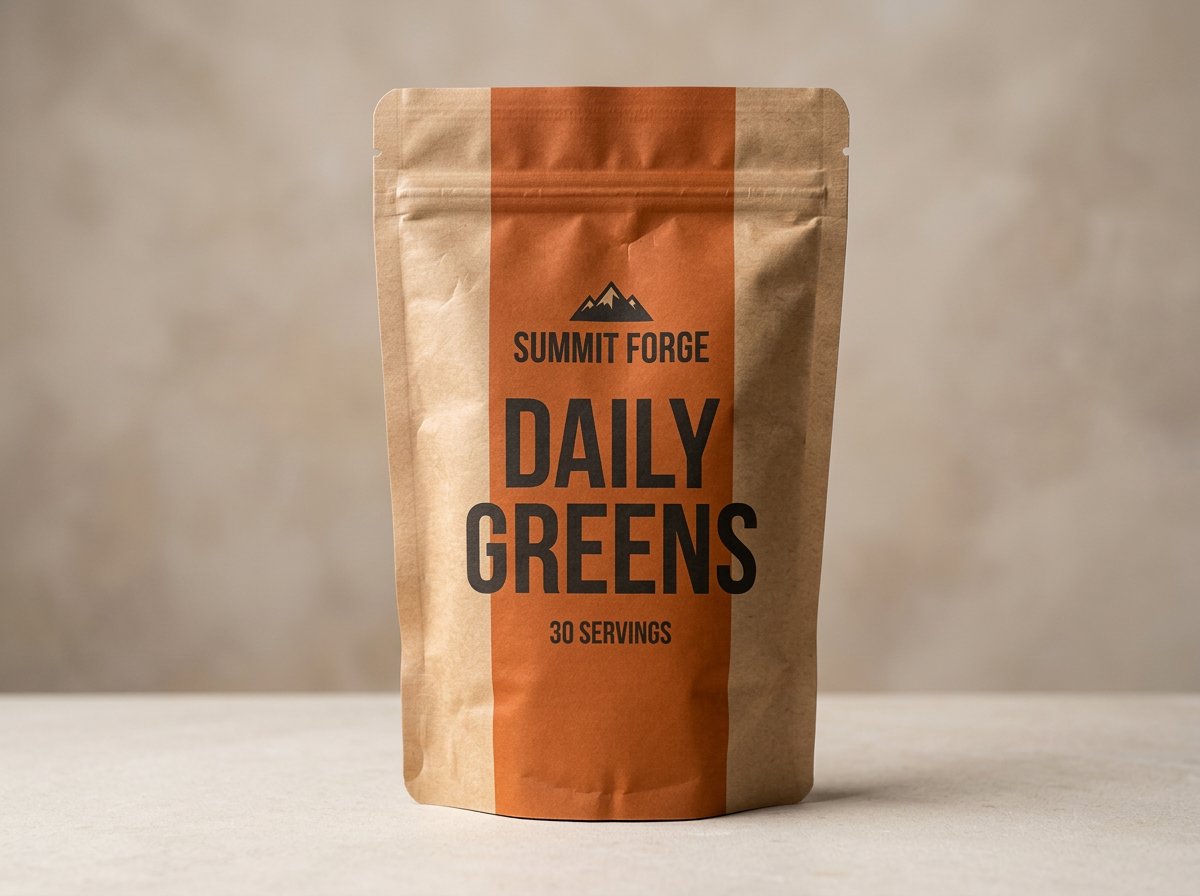
Set 01
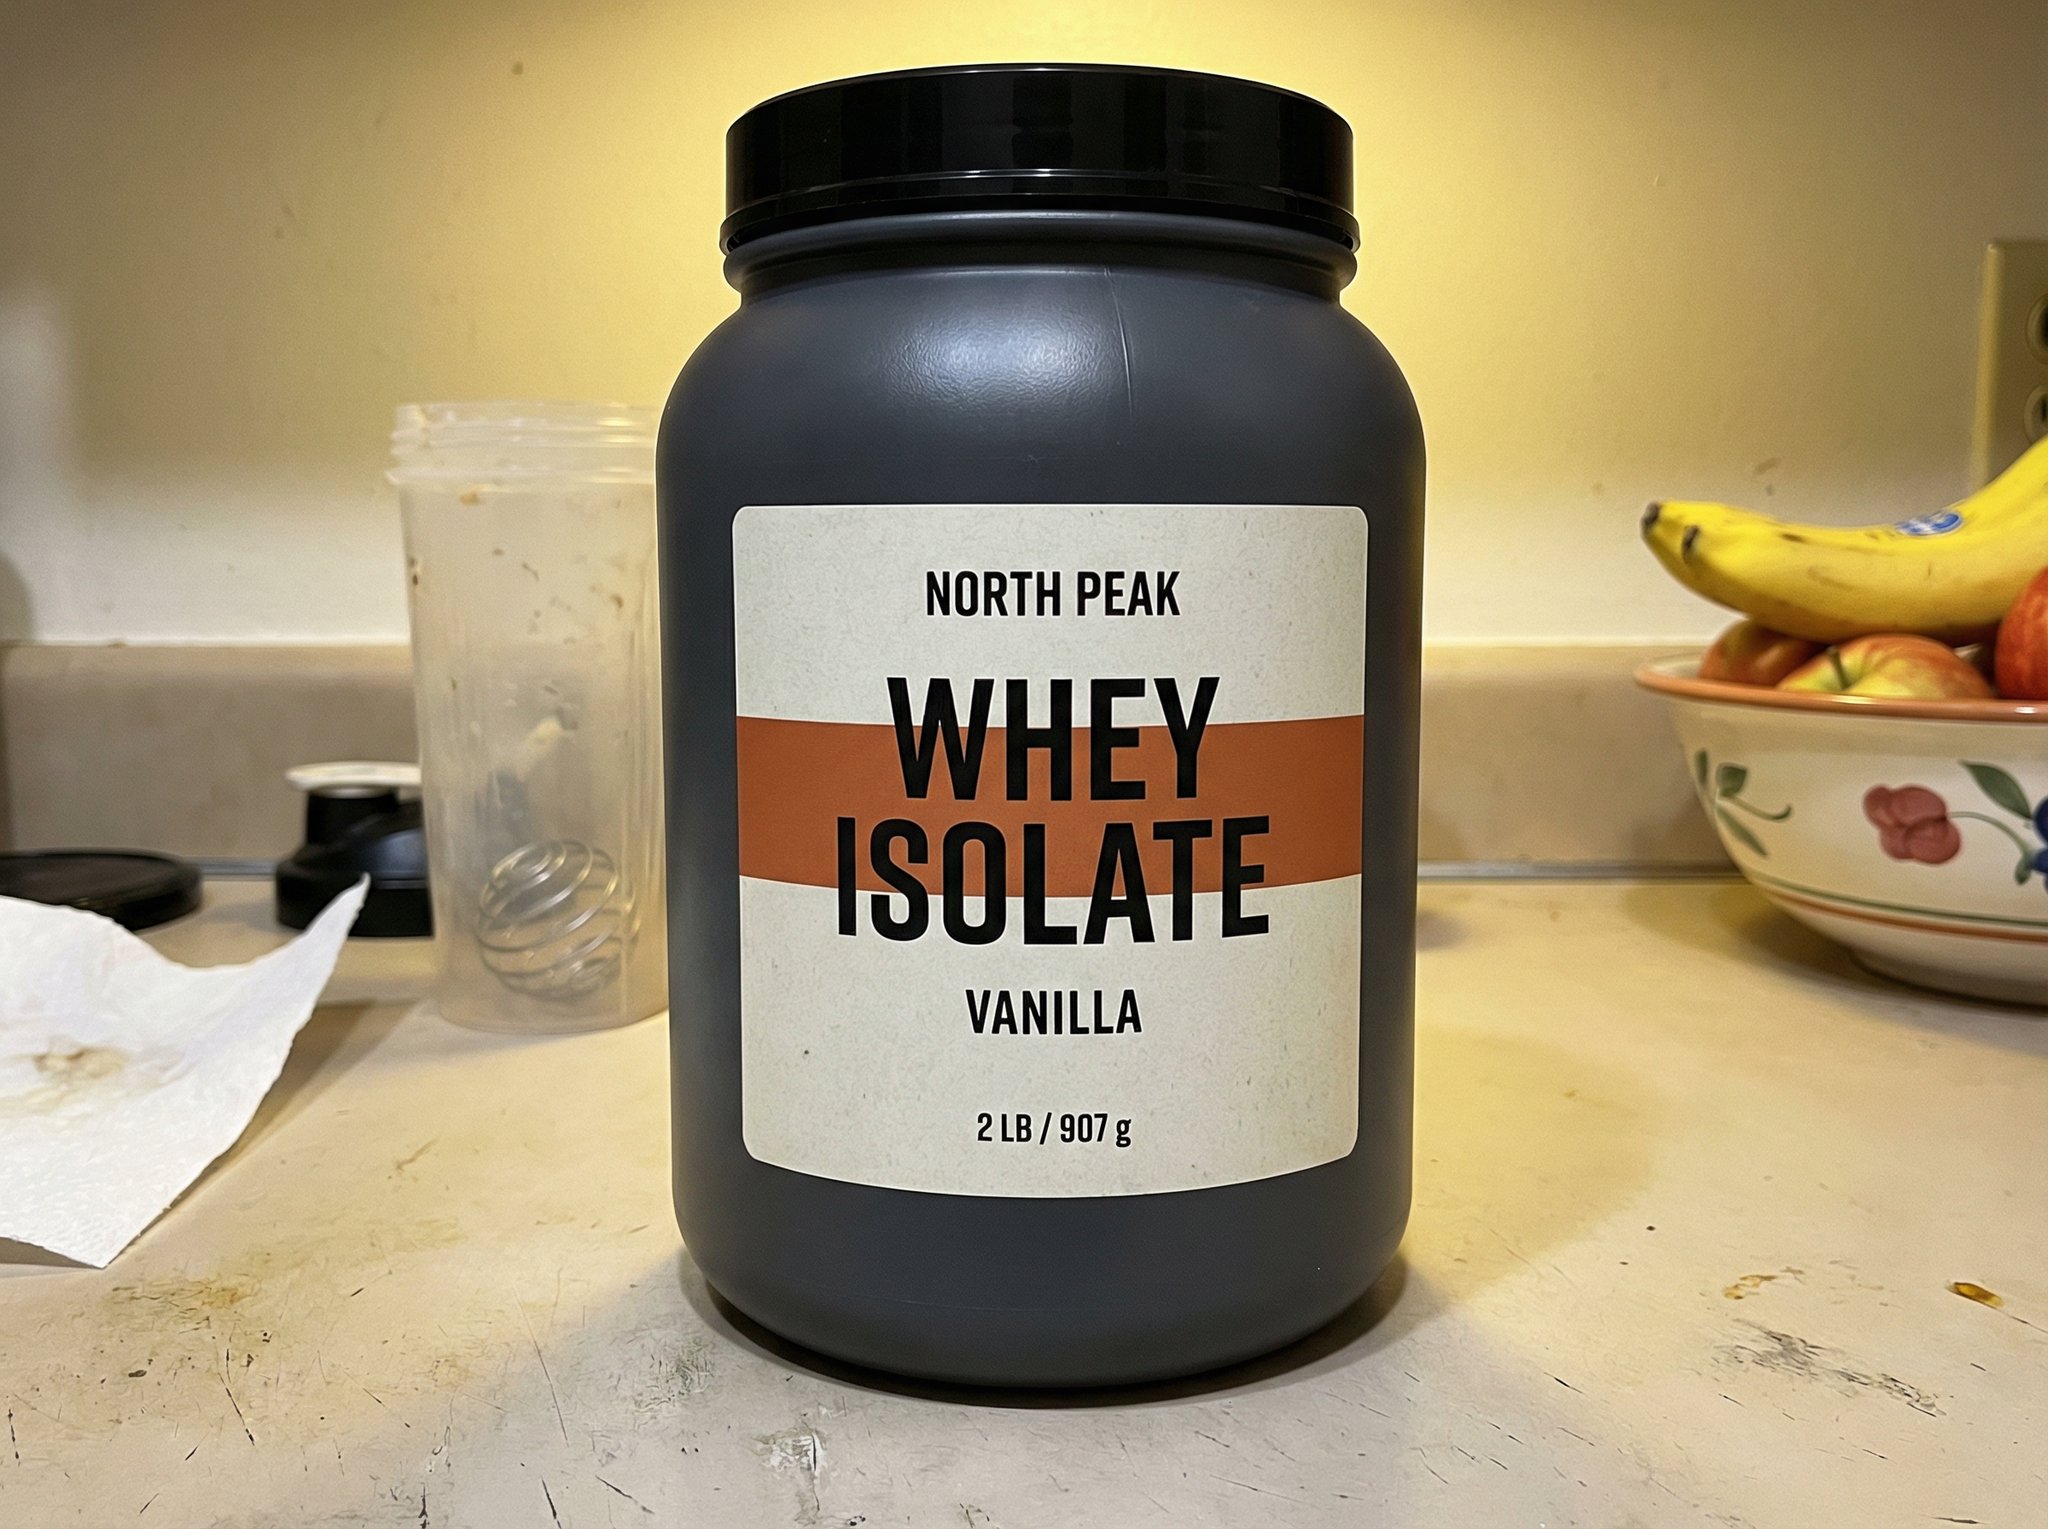
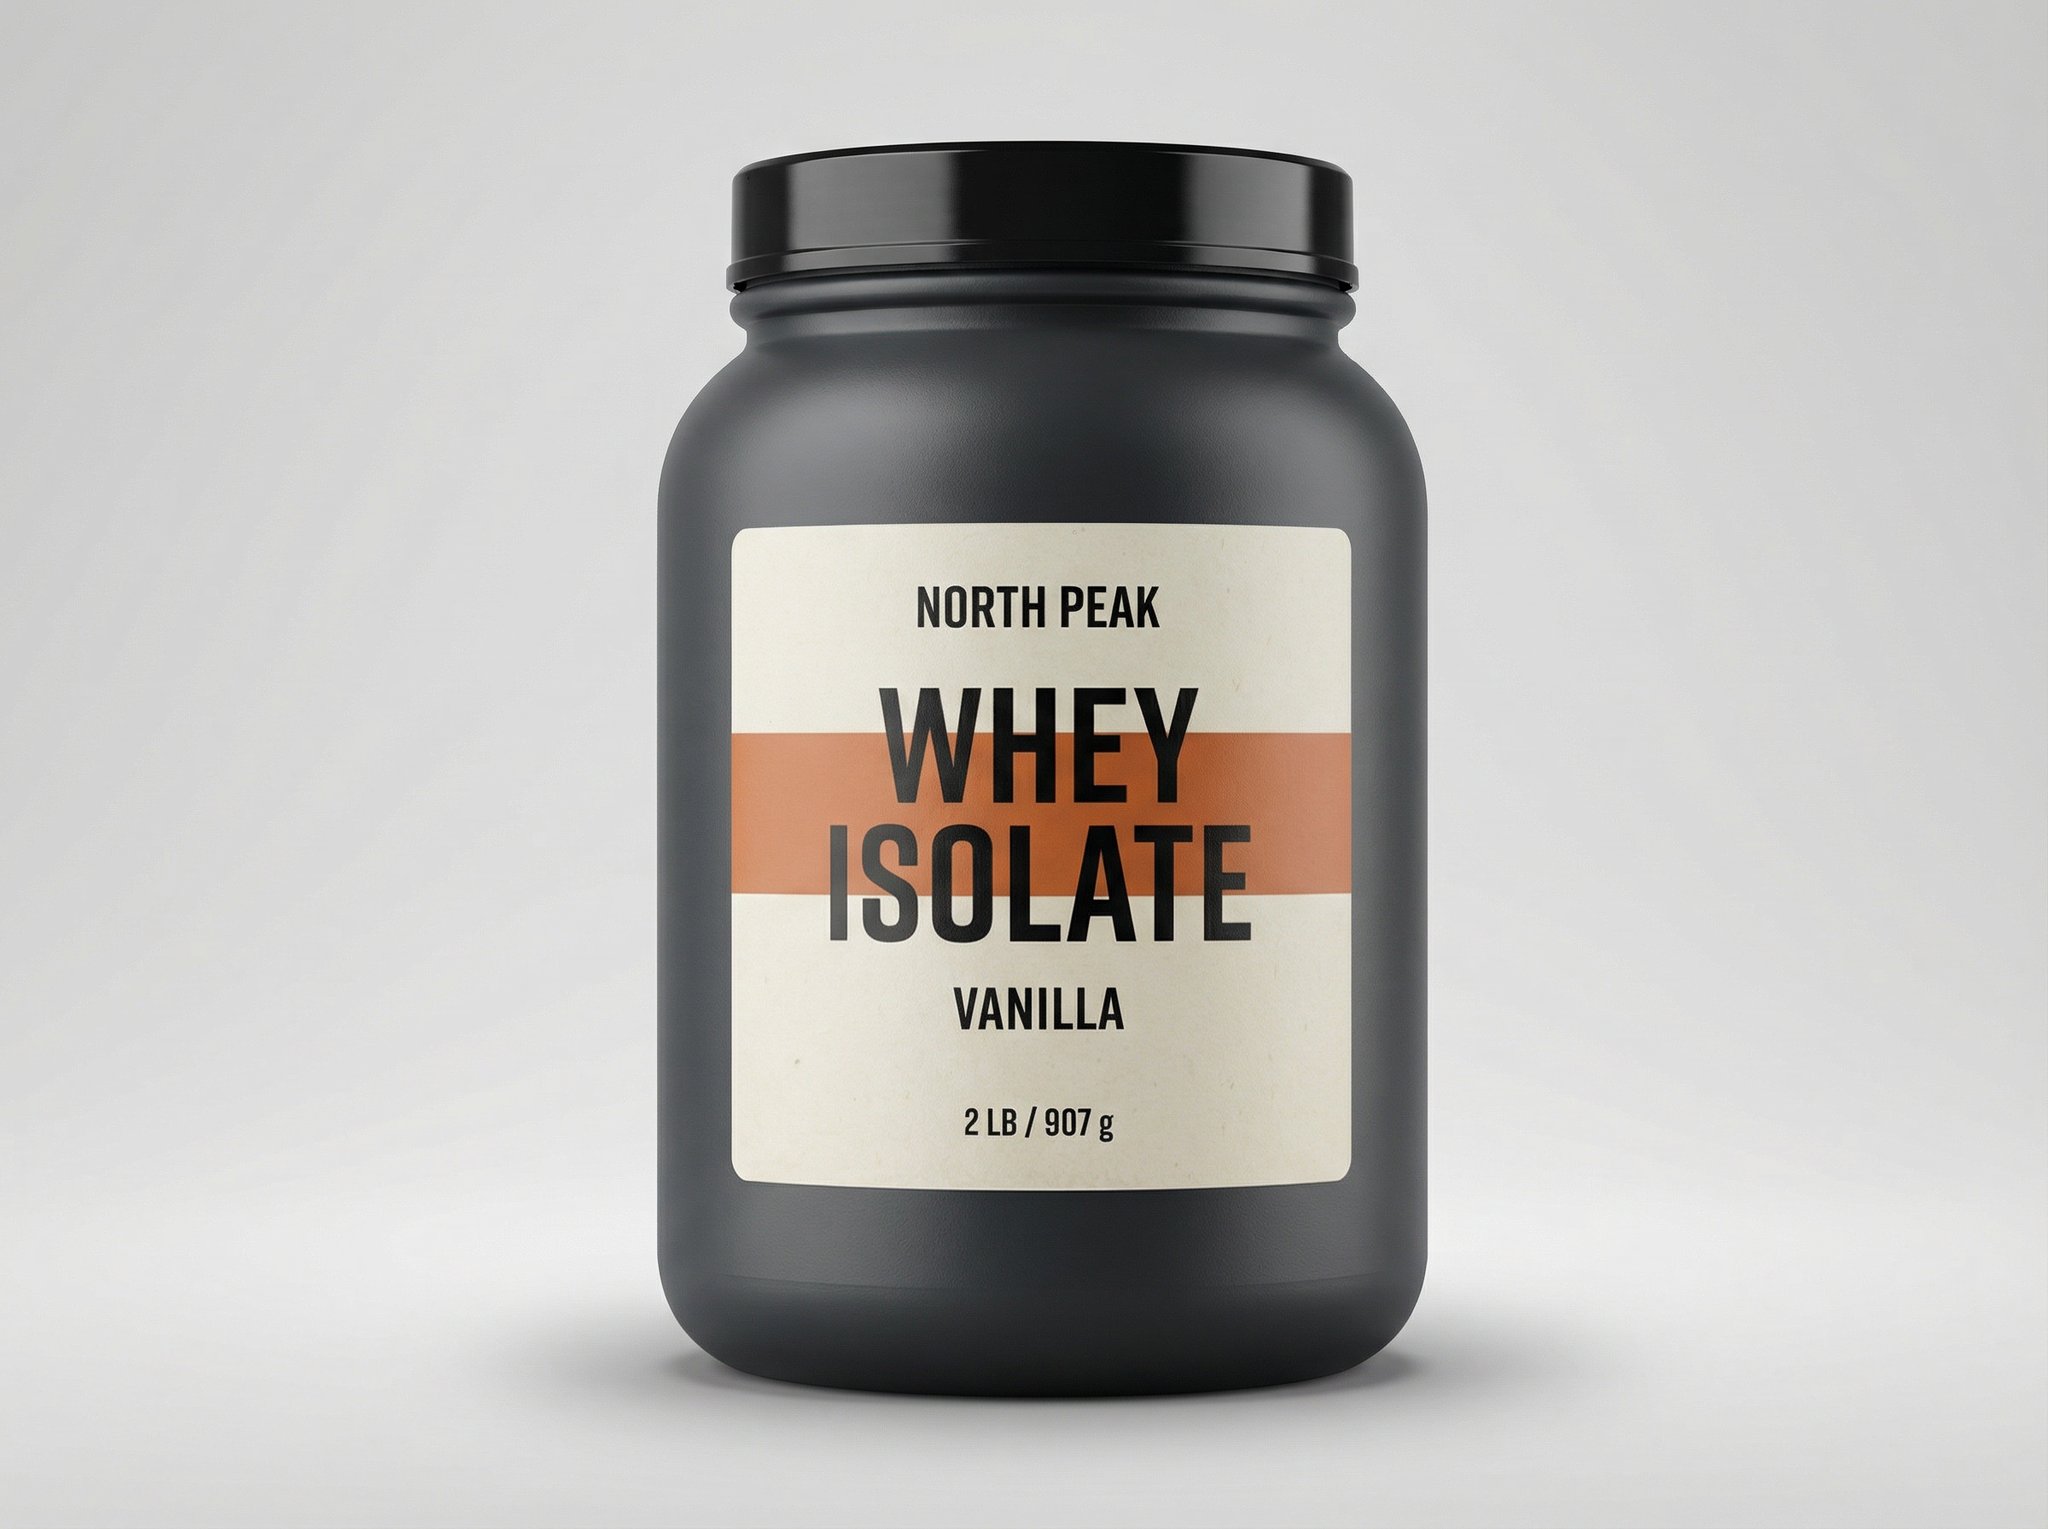
A rough seller-shot pouch becomes a cleaner premium ecommerce frame with stronger material definition and packaging clarity.
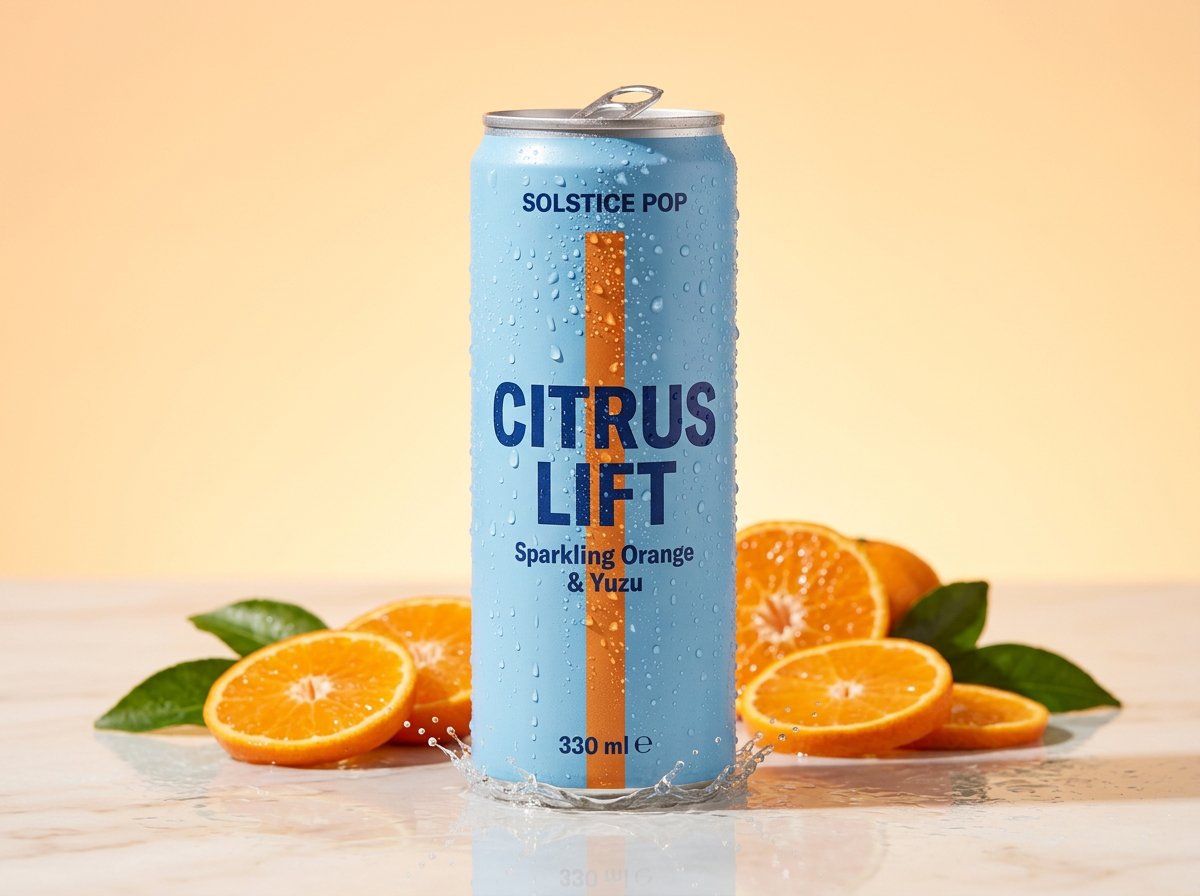
Set 02
A rough can photo becomes a brighter campaign-ready product shot where color, condensation, and art direction do the selling work.
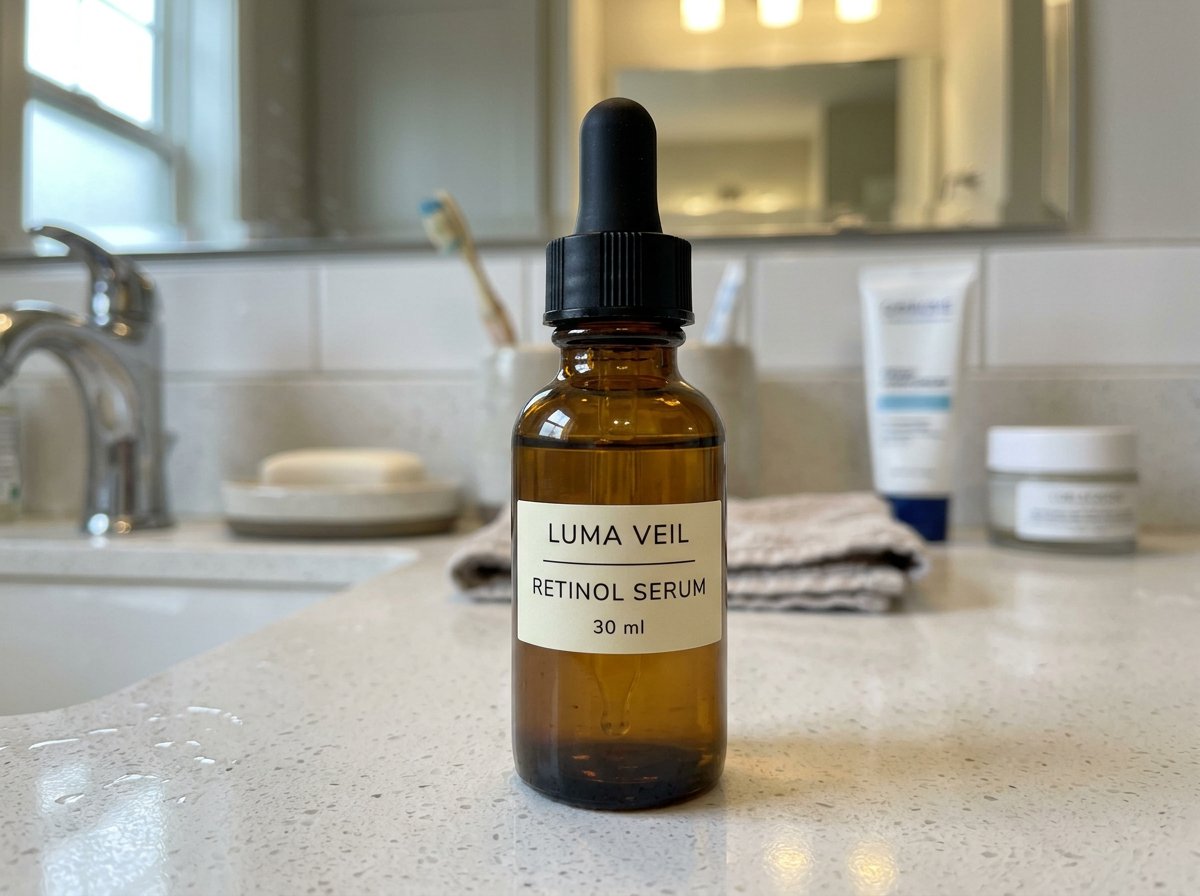
Direction 03
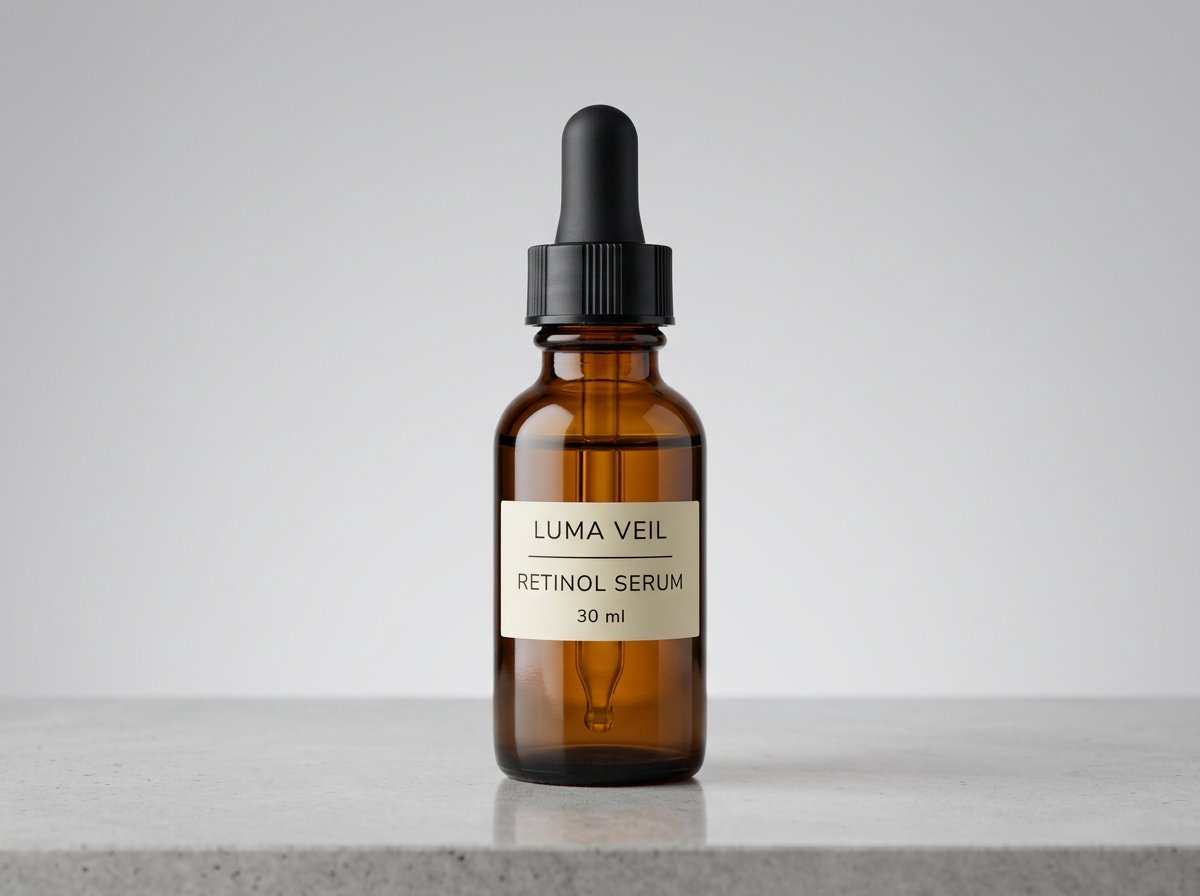
A bathroom-counter source photo becomes a cleaner beauty image with controlled reflections, sharper glass edges, and a more premium finish.
If this page matches the job, the next step is usually the workflow, finishing tool, or inspiration page that gets you moving faster.
Model
OpenAI's GPT Image 2 on HummingBytes for product visuals, ecommerce packshots, social ads, readable layouts, and reference-guided edits.
Model
A model page for Seedream 5.0 Lite on HummingBytes, with examples for posters, branded layouts, reference-guided edits, and structured commercial images.
Model
The fast default image model for most HummingBytes users when you want strong generation and editing without paying Pro-level cost.
Feature
Use this workflow when the image already works creatively but needs a cleaner final export.
Use case
Keep the product and packaging locked while replacing distracting backgrounds with cleaner catalog or lifestyle scenes.
Feature
Start from a reference image and transform it into edits, restyles, cleanups, and new visual directions.
Feature
Launch prompt variations, ratios, and reference sets in one batch so your team reviews the full output set together.
Use case
Turn real product photos into cleaner TikTok Shop listing images with AI. Build a square listing-safe gallery with a stronger main image, angle views, details, and included-items support in HummingBytes.
Use case
Turn a simple product photo into Amazon-ready listing images with AI. Create better main images, infographics, lifestyle shots, and comparison visuals in HummingBytes.
Use case
Turn a simple clothing photo into polished ecommerce apparel images with AI. Create cleaner product shots, lifestyle photos, material close-ups, and styling-reference visuals in HummingBytes.
Start with a rough source image, keep the real product intact, and use the workflow to clean the frame, sharpen the materials, and land a stronger ecommerce shot.