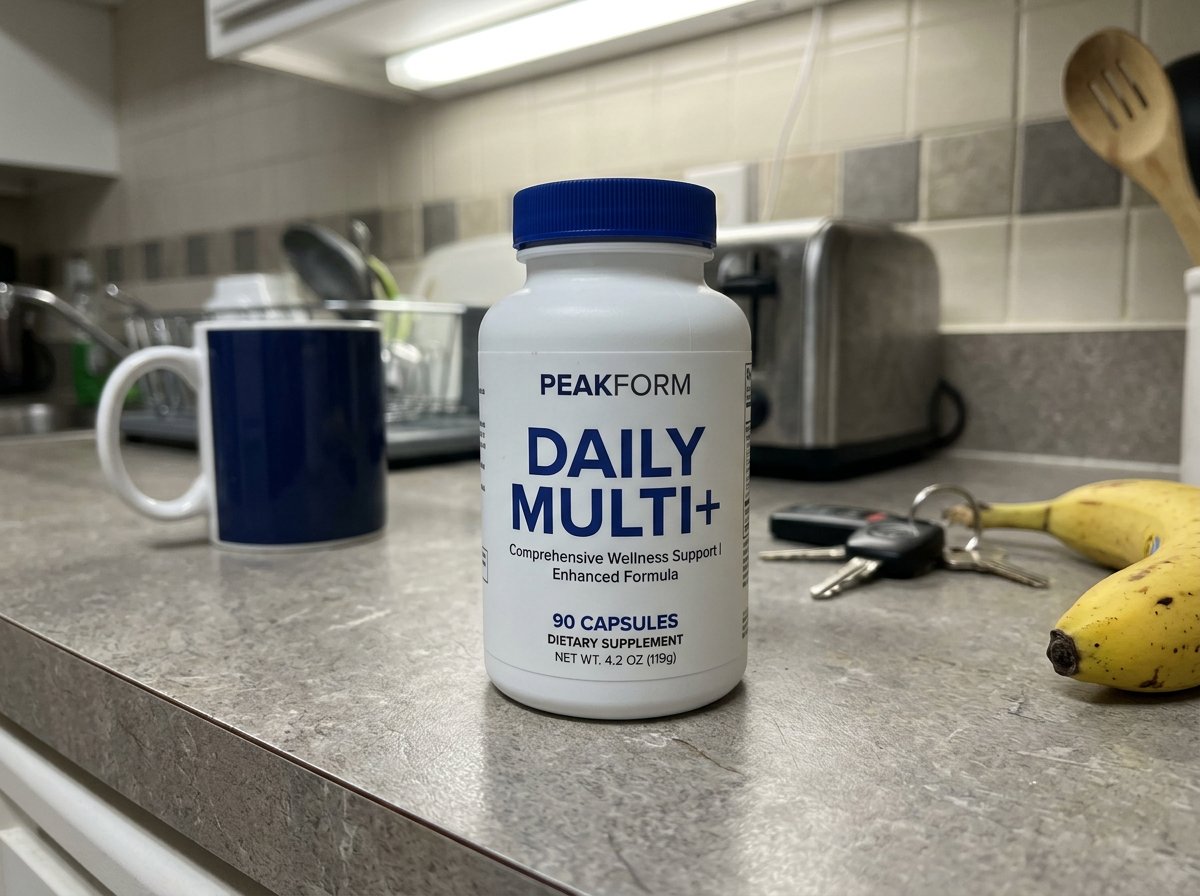

Messy source photos from quick capture workflows
Use it when the original image was captured quickly for proof, ops, or inventory, but now needs a cleaner storefront-ready version.
Your product is already working. The background is not. Swap the scene without reshooting or changing the packaging, silhouette, or proportions.
Preserves packaging, silhouette, and proportions while upgrading the scene around the product.
The credible version of this job starts from a real source image and produces a cleaner environment around the same product, not a totally different polished render.
Keep the product fixed. Treat the scene as the variable.
Step 2: describe the new background, the lighting direction, and the shadow or reflection behavior you want to see.
If the lighting, styling, reflections, and overall polish all need work, not just the environment, jump to the broader product photography page instead.
This is the right page when the product shot itself is usable and only the environment around it needs to change.
Use it when the original image was captured quickly for proof, ops, or inventory, but now needs a cleaner storefront-ready version.
Use it when products come from mixed environments and you need every photo to match your brand look before publishing.
Use it when you want a softer scene change around the product while still keeping the original packaging and silhouette grounded.
The key is a narrow image-to-image instruction set: what stays exact, what background changes, and what realism cues need to survive the swap.
Pick the frame where the product, packaging, and branding are most accurate, even if the surroundings are not usable yet.
Describe the clean catalog backdrop or lifestyle scene you want, then explicitly ask for natural shadows, reflections, and edge integration.
Once one replacement looks right, move into AI product photography or multi-workflow batch generation if you need more polished variants built from the same product.
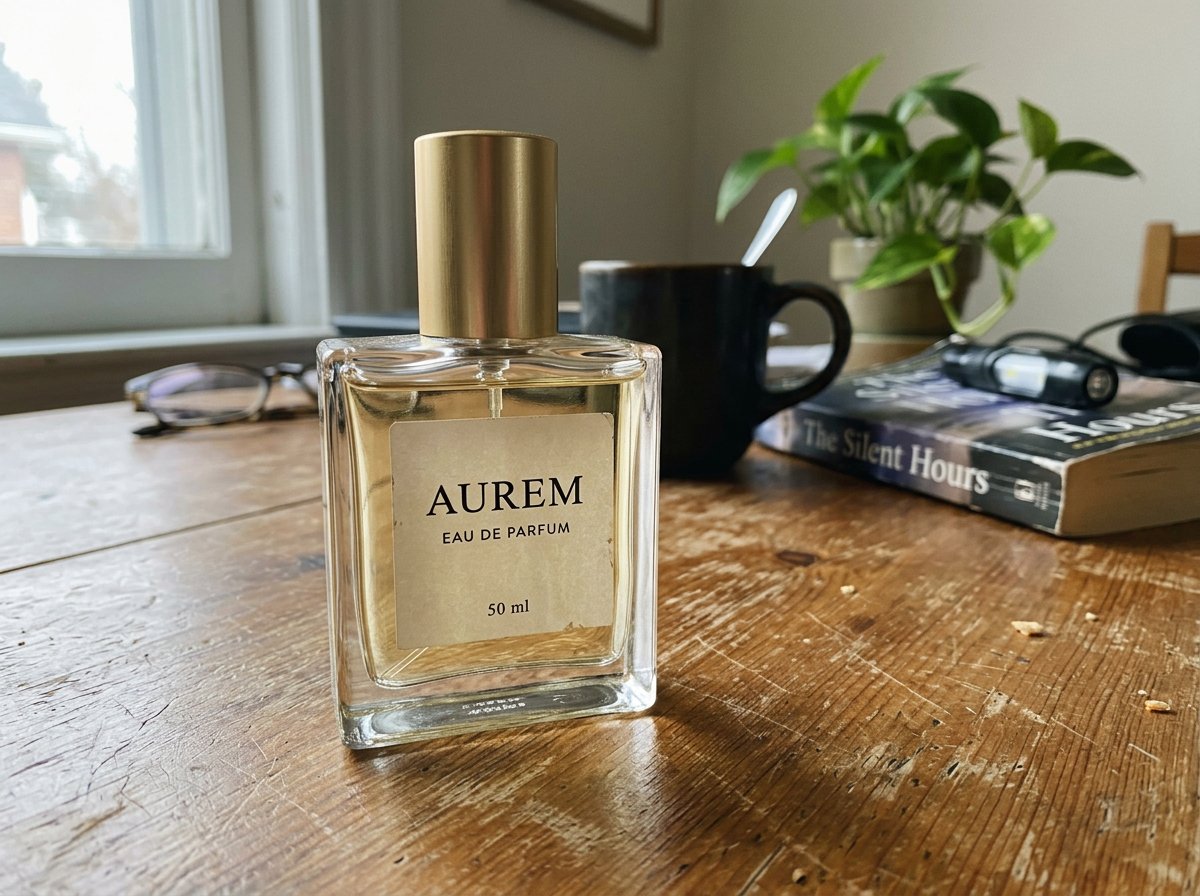
These examples show the range of environments you can move into once the original clutter is removed.
Example 01
A high-end commercial environment where the product remains the hero and the surroundings simply reinforce it.
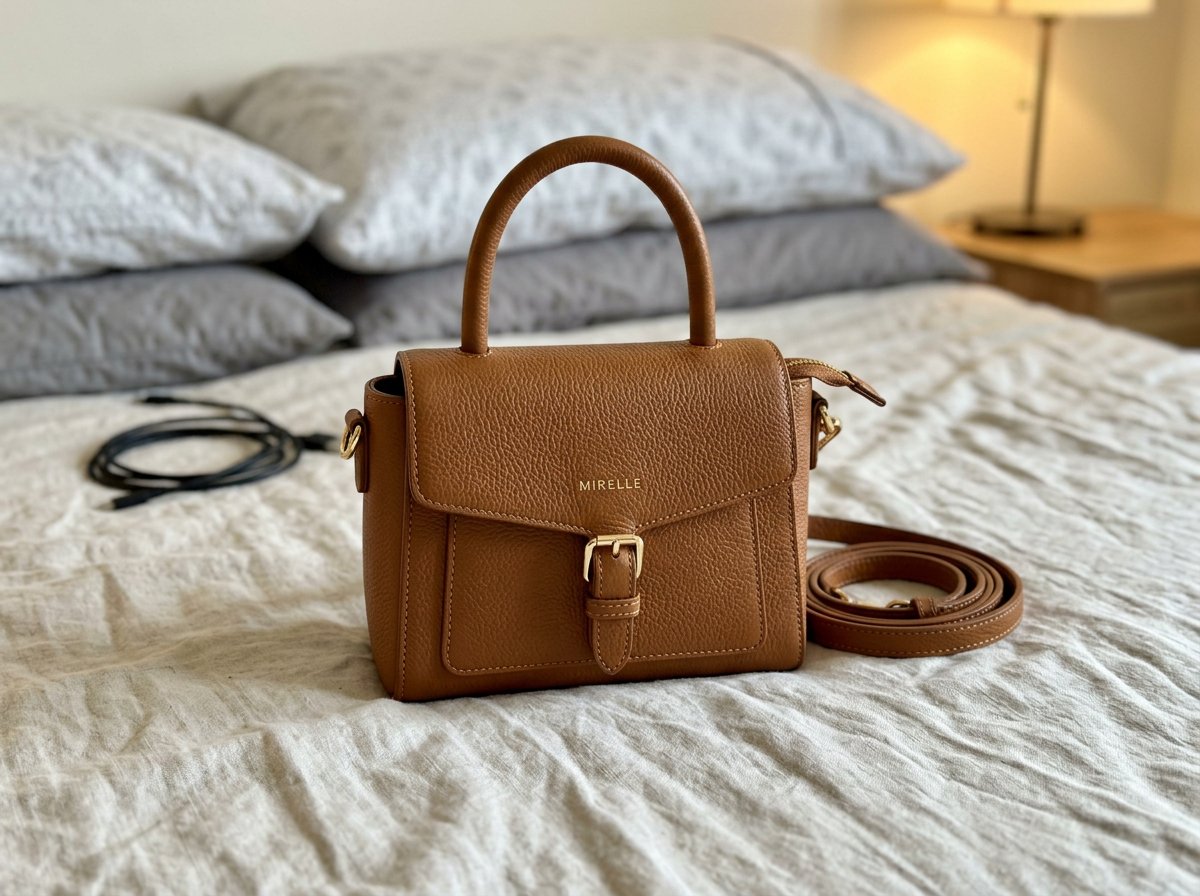
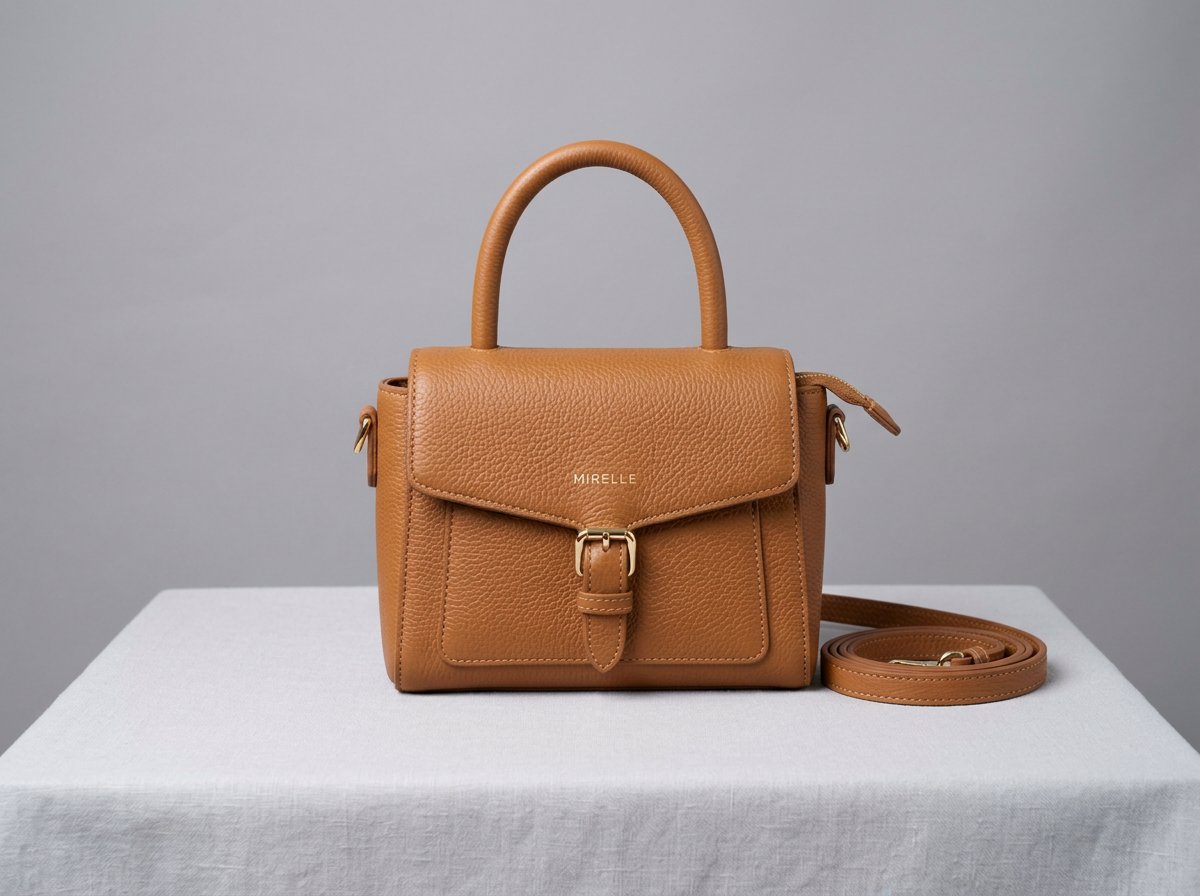
Example 02
A reseller-style source image turned into a cleaner commercial frame while preserving leather grain, shape, and hardware detail.
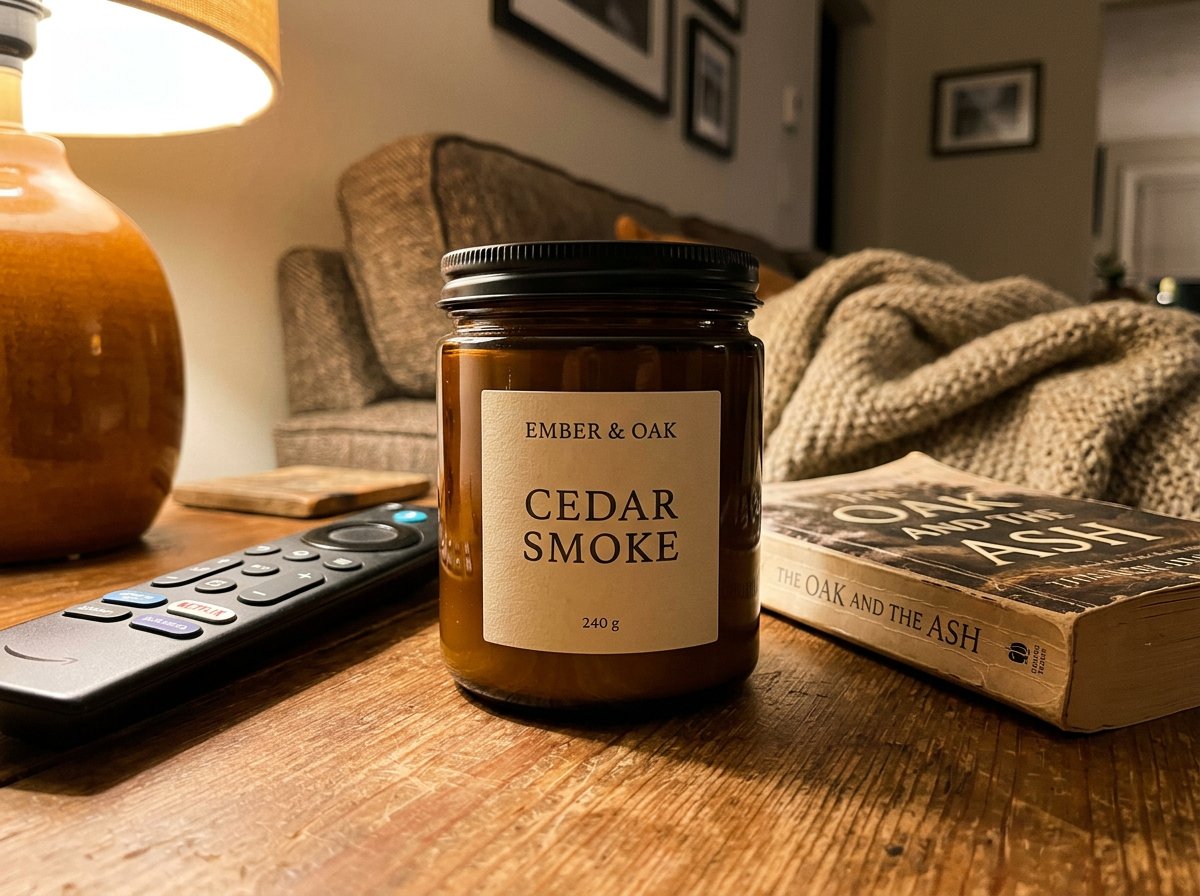
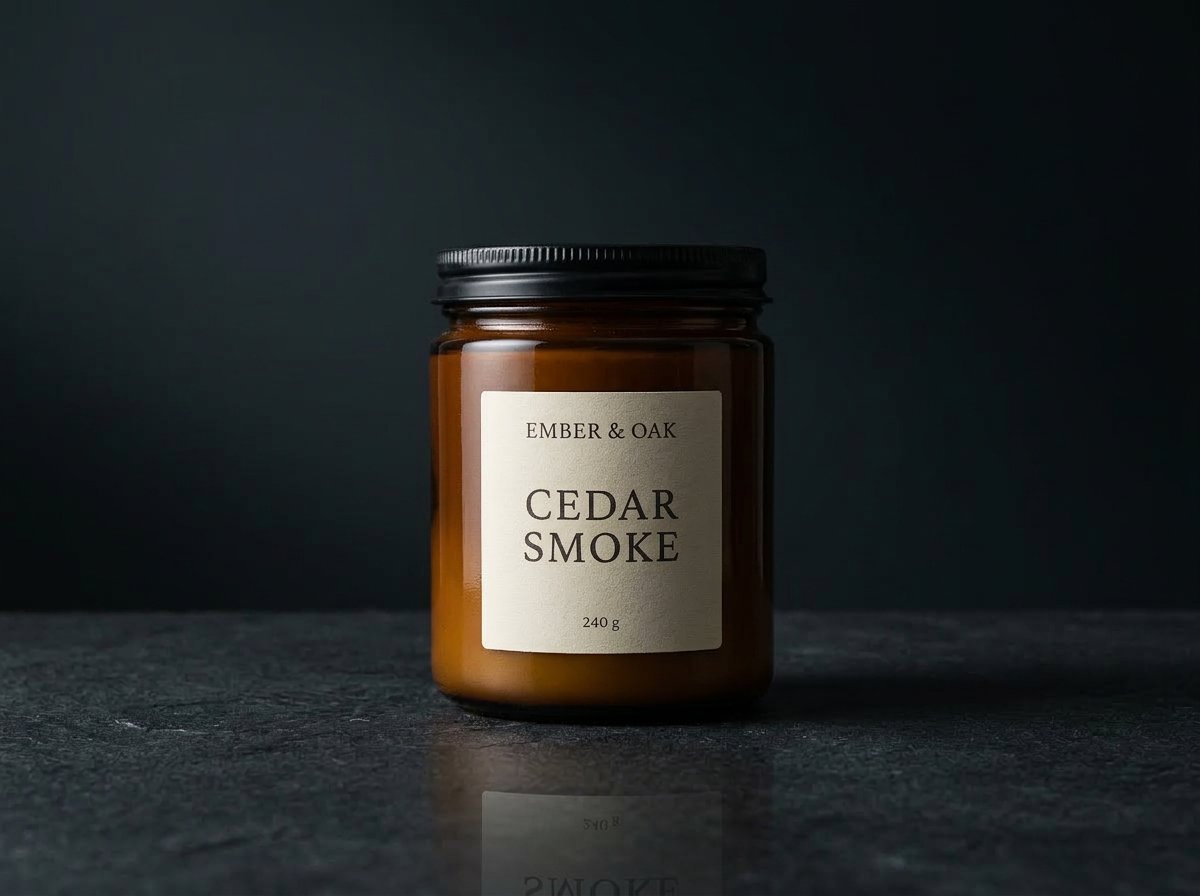
Example 03
A darker replacement direction that keeps the glass jar grounded while upgrading the scene into a more intentional retail image.
If this page matches the job, the next step is usually the workflow, finishing tool, or inspiration page that gets you moving faster.
Model
OpenAI's GPT Image 2 on HummingBytes for product visuals, ecommerce packshots, social ads, readable layouts, and reference-guided edits.
Model
A supported OpenAI image model on HummingBytes for transparent PNG output, compositing, UI mockups, and other structured image workflows.
Model
The fast default image model for most HummingBytes users when you want strong generation and editing without paying Pro-level cost.
Feature
Start from a reference image and transform it into edits, restyles, cleanups, and new visual directions.
Feature
Launch prompt variations, ratios, and reference sets in one batch so your team reviews the full output set together.
Use case
Turn a phone-shot or rough source image into a studio-quality ecommerce product photo without changing the product itself.
Use case
Turn real product photos into cleaner TikTok Shop listing images with AI. Build a square listing-safe gallery with a stronger main image, angle views, details, and included-items support in HummingBytes.
Use case
Turn a simple product photo into Amazon-ready listing images with AI. Create better main images, infographics, lifestyle shots, and comparison visuals in HummingBytes.
Use case
Turn a simple clothing photo into polished ecommerce apparel images with AI. Create cleaner product shots, lifestyle photos, material close-ups, and styling-reference visuals in HummingBytes.
Keep the product locked, change the environment around it, and focus the prompt on lighting continuity, shadows, reflections, and realistic edge integration.