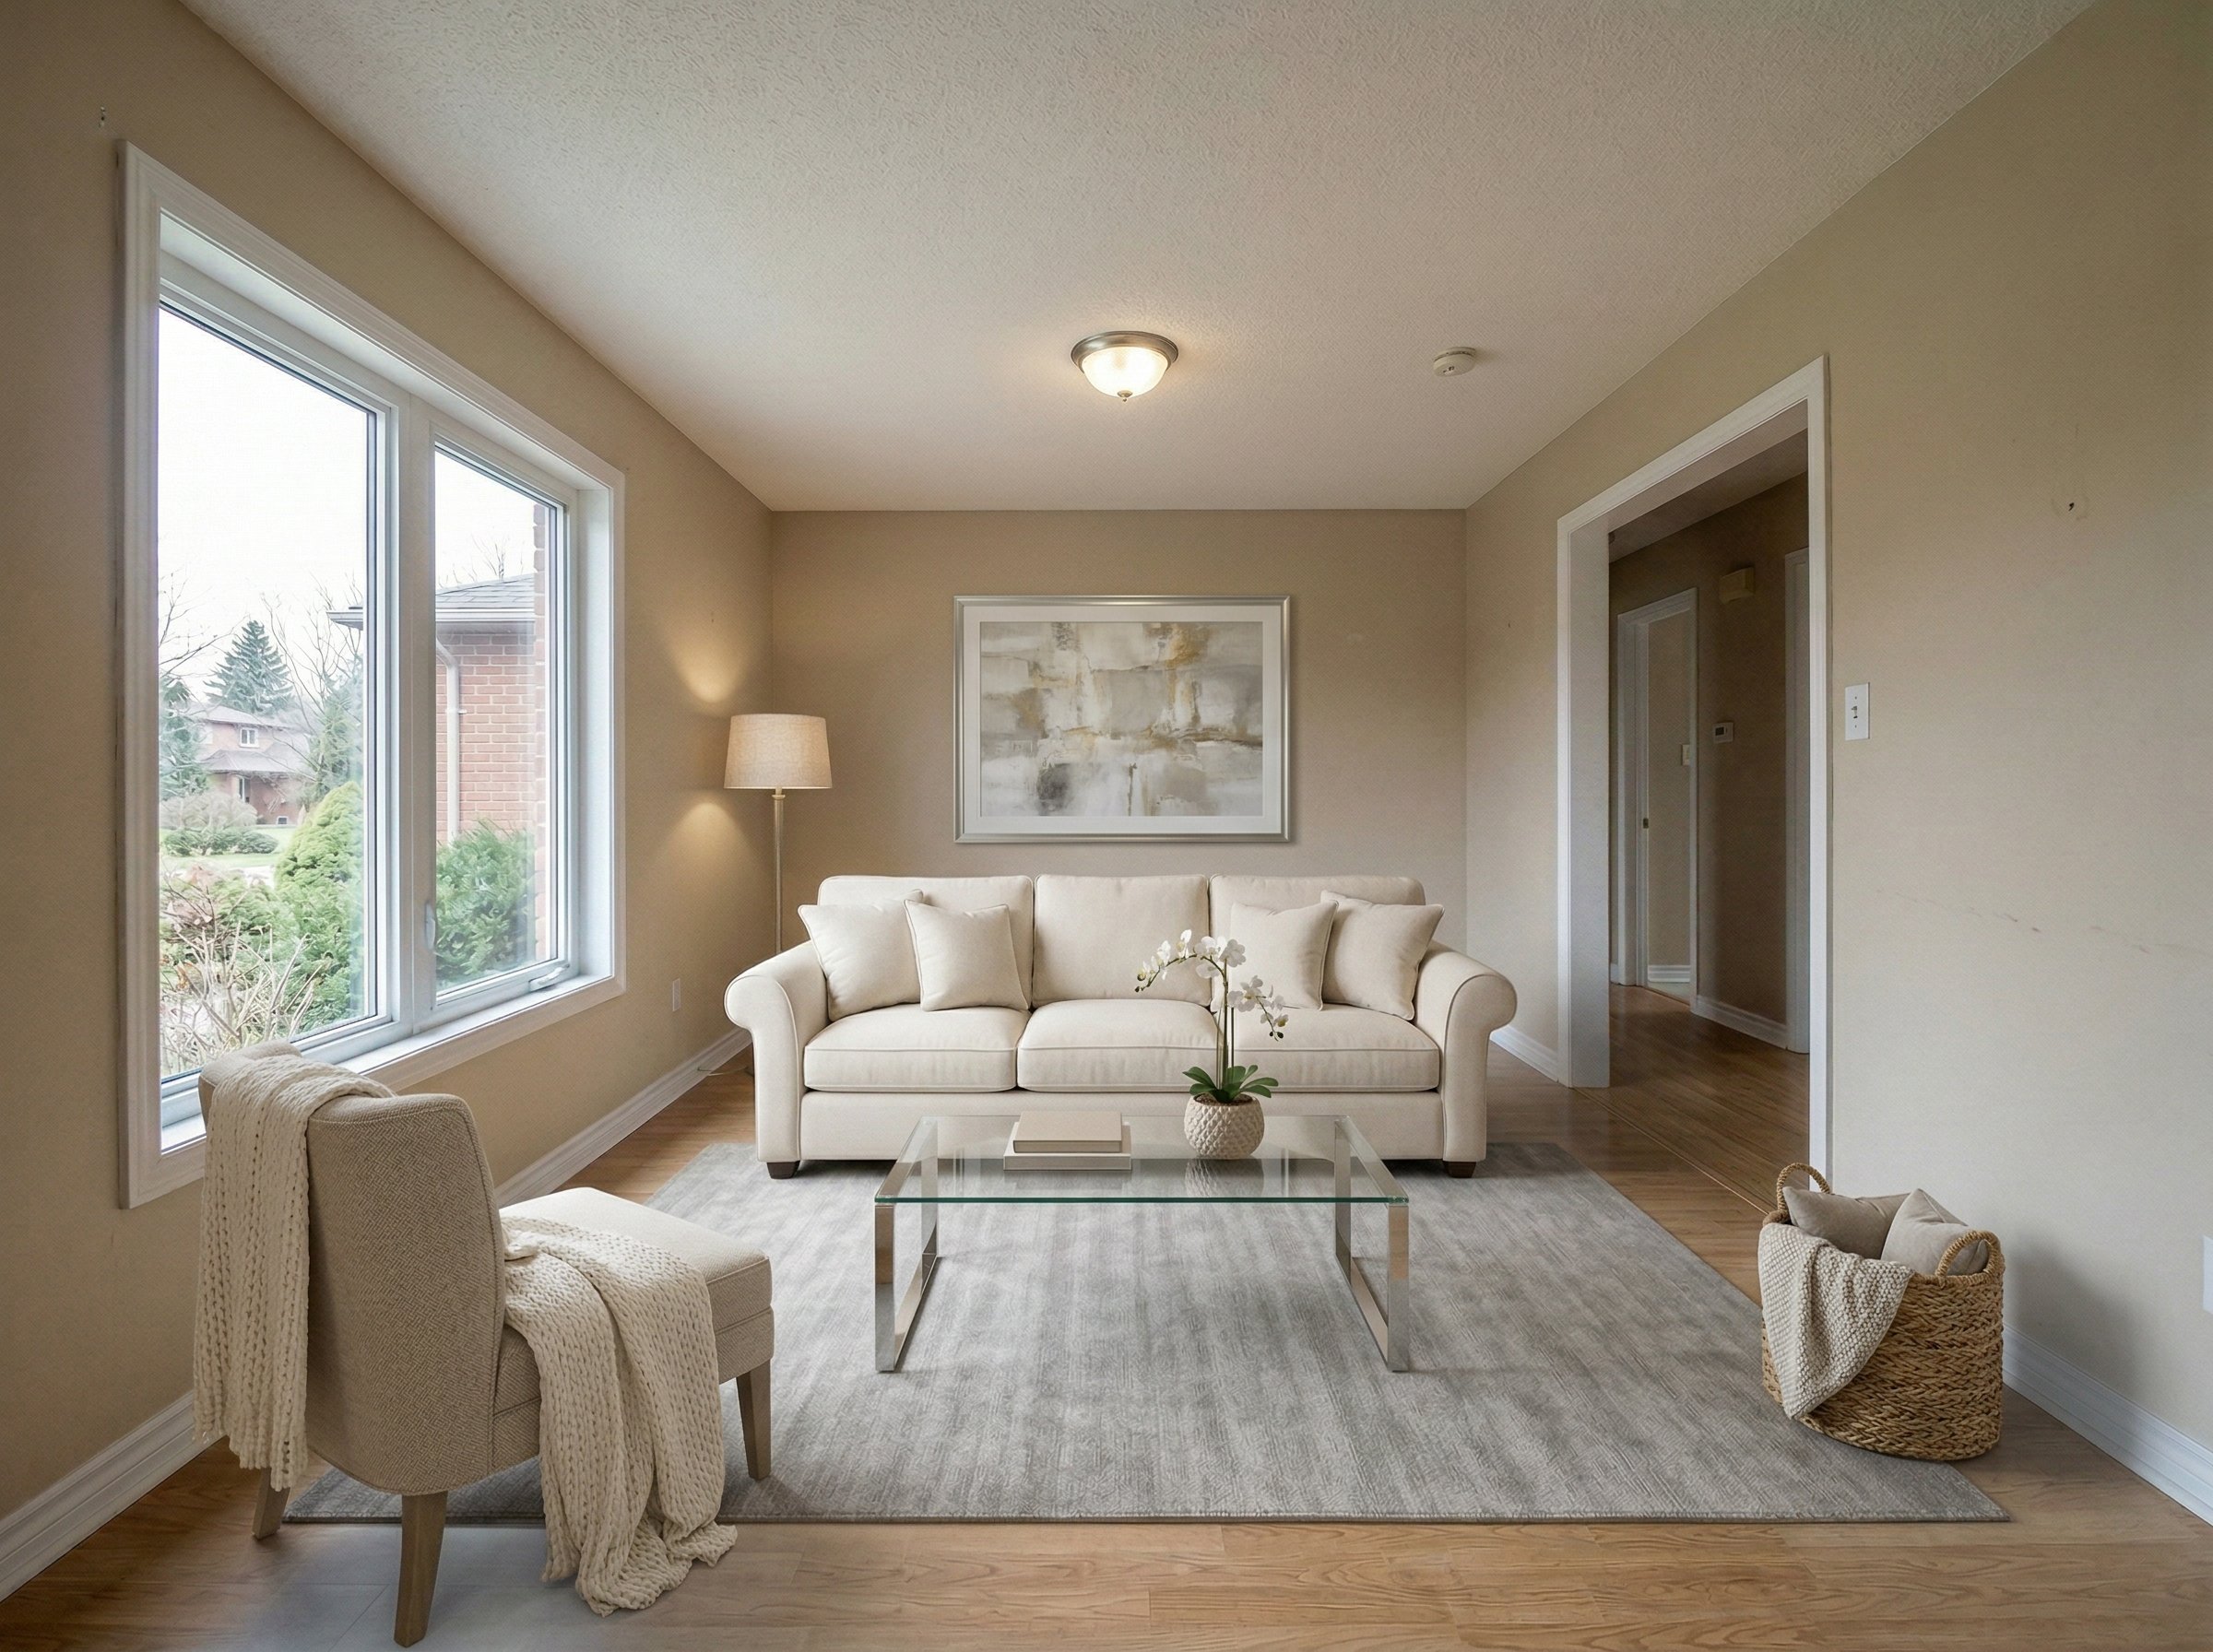
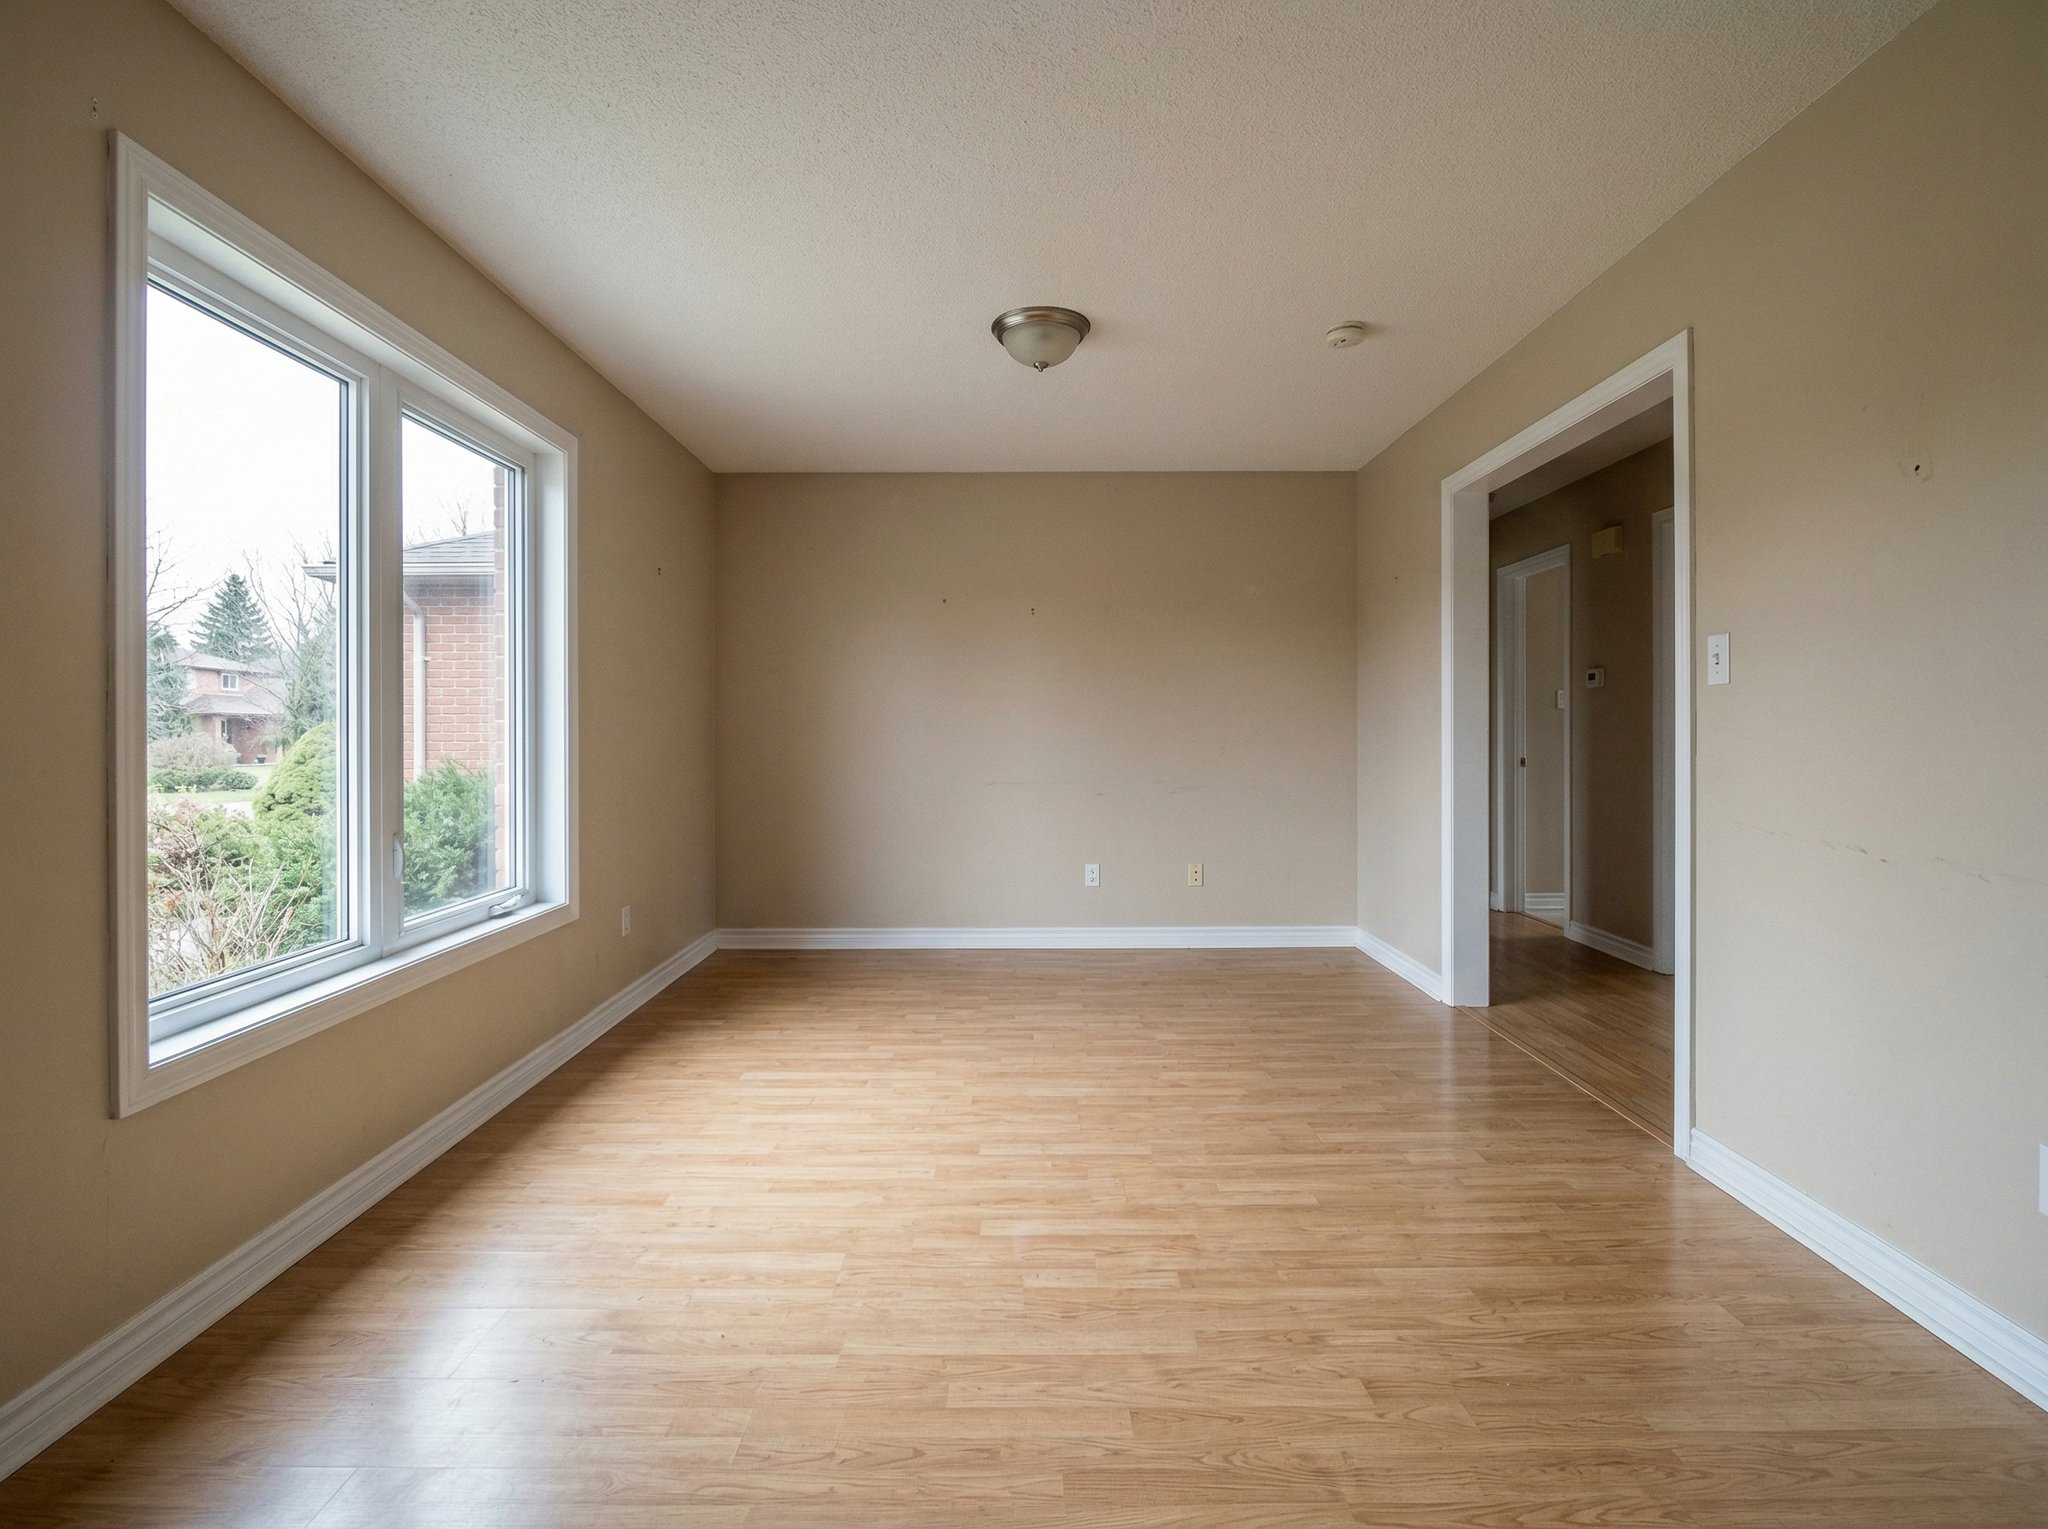
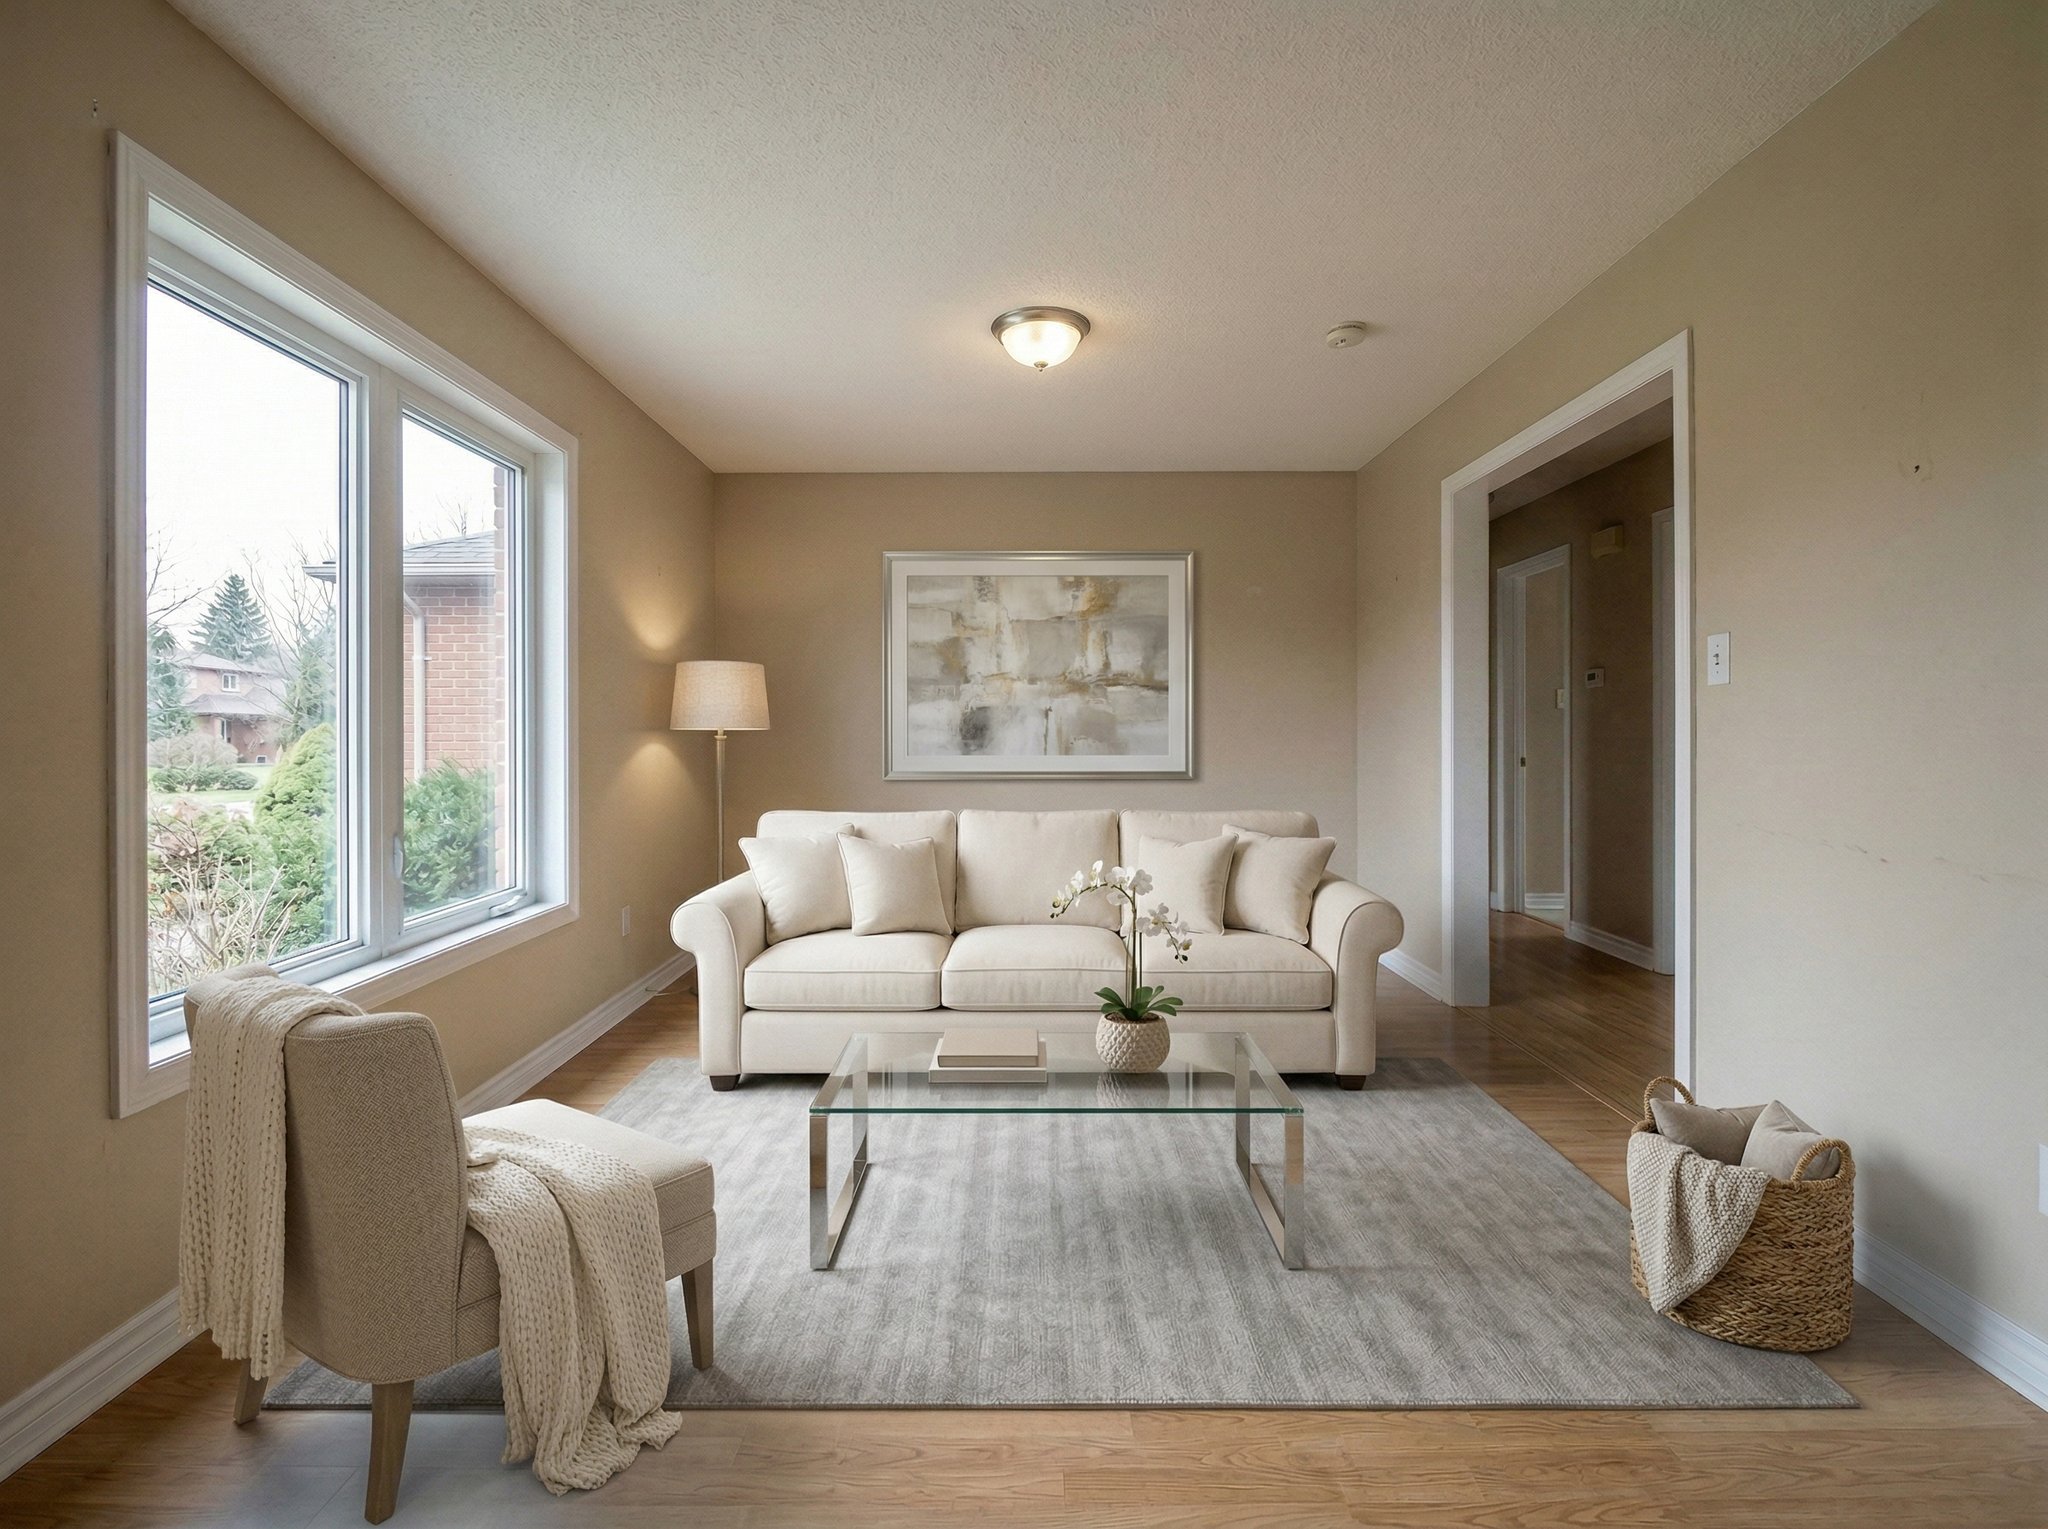
Virtually staged transitional living room with a cream sofa, glass coffee table, and neutral rug for a property listing

Help people picture the room.

Explore furniture and styling directions using your room photo as a reference.

Check geometry and fixed features. Disclose virtual staging and follow the listing platform’s image rules.

Empty and furnished

See what furniture changes.

Use the empty room as your reference while comparing two furnishing directions. Review window positions, floor lines and furniture scale.

Keep a copy of the original photo. Staged images illustrate a possible furnishing arrangement.

Empty room sourceStaged outputs

Primary staged direction

The first transformation turns the empty room into a furnished, broad-market living space that feels easier to imagine in use.

Alternate staged direction

A second furnishing direction explores a tan sofa and walnut furniture. Compare the floor lines and windows with the original.

Staging directions

Decide what the room needs to show.

Explore a furnished room, an alternate style, a closer crop or a second room. Use the source photo to judge what changed.

1. Furnished staged room

Use one broad-market staged room image to help buyers or renters imagine how the space could actually live.

Common mistake: Overfurnishing the room until it feels cramped, fake, or out of scale with the floor plan.

Create a staged living room

2. Style-specific staging

Use an alternate staging direction to show the same room in a style that better matches a target buyer or renter.

Common mistake: Changing the room so aggressively that it no longer feels like the same property.

Try another style

3. Listing-ready polish

Use one tighter crop or vignette to make the staged room feel more merchandised and more useful in a listing or marketing set.

Common mistake: Turning the crop into an unrelated decor scene that breaks continuity with the staged room.

Create a listing-ready crop

4. Secondary room concept

Use the same workflow on a bedroom or another core room so the listing does not depend on one hero living-room example.

Common mistake: Choosing a room concept so stylized or luxurious that it raises expectations the rest of the property cannot support.

Stage a bedroom

Room studies

Two rooms, several possibilities.

Compare each empty room with its furnishing directions and closer crop.

Bedroom staging set

Compare the empty bedroom, two furnishing styles and a closer view of the staged space.

Start with your room photo

Source photo

The empty bedroom photo before any staging direction is applied.

Primary staged room

The broad-market bedroom direction that makes the space feel calm, livable, and listing-ready.

Alternate style

A second furnishing direction for the same bedroom when you want a different buyer or renter story.

Listing-ready crop

A tighter derivative crop that adds merchandising value while staying grounded in the same staged bedroom.

Living room staging set

The living room source sits alongside its transitional and mid-century furnishing directions and a closer crop.

Start with your room photo

Source photo

The empty room photo before any staging direction is applied.

Primary staged room

The broad-market furnishing direction that makes the room feel livable and listing-ready.

Alternate style

A second staging direction for the same room when the first concept is not the strongest fit.

Listing-ready crop

A tighter derivative crop that gives the staged room more merchandising value without breaking continuity.

Workflow

Start with the room. Review every change.

Upload a reference, describe the furnishing style and compare the output with the actual space before adding it to a listing.

  1. Start from an empty or weak room photo

    Upload the room photo you already have instead of planning a physical staging setup from scratch.

  2. Generate the staging direction you need

    Create a furnished room that feels livable, balanced, and aligned with a real listing audience.

  3. Test multiple staging styles quickly

    Compare more than one furnishing direction without moving real furniture or booking another shoot.

  4. Review before publishing

    Check the layout and fixed features. Identify the image as virtually staged when using it in a listing.

Prompt starters

Prompt starters for virtual staging with AI

Pick the room outcome you need, start from your room photo, and refine from there.

Living room staging prompt starter

Use the uploaded empty living room photo as the structural reference and preserve the room geometry exactly. Stage it as a bright, broad-market living room with believable furniture, realistic scale, natural light, and a polished listing-ready presentation.

Stage a living room

Bedroom staging prompt starter

Create a believable staged bedroom for a residential listing with neutral finishes, realistic furniture scale, soft natural light, and a bright, marketable presentation.

Stage a bedroom

Alternate style prompt starter

Use the uploaded room photo as the structural reference and preserve the room geometry exactly. Restage the same room in a different but believable style direction with realistic furniture, clean spacing, and broad-market appeal.

Try another style

Listing-ready crop prompt starter

Use the approved staged room image as the reference and keep the same room, furniture language, and lighting. Create a tighter listing-ready crop that focuses on the most inviting part of the staged room while still clearly reading as the same space.

Polish a listing image

Frequently asked questions about virtual staging with AI

What is virtual staging with AI?
It is the workflow of taking an empty or weak room photo and turning it into a more furnished, marketable listing visual with believable staging.
Can I start from my own room photo?
Yes. This page is built around that exact workflow: start from the room photo you already have and use it as the structural reference.
Can HummingBytes stage an empty room for a listing?
Yes. The main job on this page is turning an empty room into a staged listing image with believable furniture and a stronger presentation.
Can I generate more than one staging style from the same room?
Yes. You can explore different furnishing prompts with the same reference photo. AI can alter geometry and fixed features, so compare each result with the original room.
Can I use these images for Zillow, Redfin, Airbnb, or rental listings?
Yes. These staged images are designed for common real-estate and rental-listing workflows when a room needs a more marketable presentation. You should still make sure the final images follow each platform's rules and clearly disclose staging where required.
When should I use real estate photo enhancement instead?
Use real estate photo enhancement when the job is to improve the existing room photo honestly without adding furniture, changing styling, or presenting the space as staged.

Related workflows and use cases

If this page matches the job, explore the workflows, features, and adjacent use cases that connect to the same room-photo workflow.

Ready to stage the room?

Try a furnishing direction for your room.

Generate more marketable room images, test staging directions faster, and create stronger listing visuals without physical staging.