Agents moving fast on new listings
Polish a full listing set on MLS deadlines without changing the actual room layout, furniture placement, or exterior truth buyers will see in person.
The honest enhancement job. Cleaner exposure, straighter lines, better color balance, and minor cleanup while preserving the real room, facade, and layout buyers need to trust.
Best when the architecture and layout must remain true, but the listing image needs clearer presentation before it goes live.
The right edit improves exposure, alignment, and clarity while keeping the room or exterior believable. Buyers should see a better-presented property, not a different one.
Keep the property. Fix the photo quality.
Call out preserved layout, honest verticals, improved white balance, cleaner shadows, and minor cleanup. Avoid prompts that add furniture, remove major furniture, reshape rooms, or alter the structure.
Real estate photo enhancement works best when the property itself is already presentable and the job is to make listing photos cleaner, more consistent, and more trustworthy before they go live.
Polish a full listing set on MLS deadlines without changing the actual room layout, furniture placement, or exterior truth buyers will see in person.
Use it for the final delivery pass when white balance, vertical correction, window balance, and cleaner shadows matter more than stylized retouching.
Make agent-shot, phone-shot, and pro-shot listing images feel more consistent across a property set without drifting into misleading edits.
This use case is a preservation-first edit, not virtual staging. The key instruction is to improve presentation while keeping the real architecture, room layout, and furniture arrangement intact.
Pick your best angle of the room or exterior, even if the lighting, exposure, or straightness are not great yet.
Ask for better exposure, white balance, clarity, vertical alignment, and minor cleanup while explicitly preserving the real architecture and layout.
Once the enhancement pass looks right, use the image upscaler to deliver a sharper export for listing platforms, brochures, or paid media.
These examples show the kinds of interior and exterior scenes where gentle enhancement can make a listing look more professional without changing the space itself.
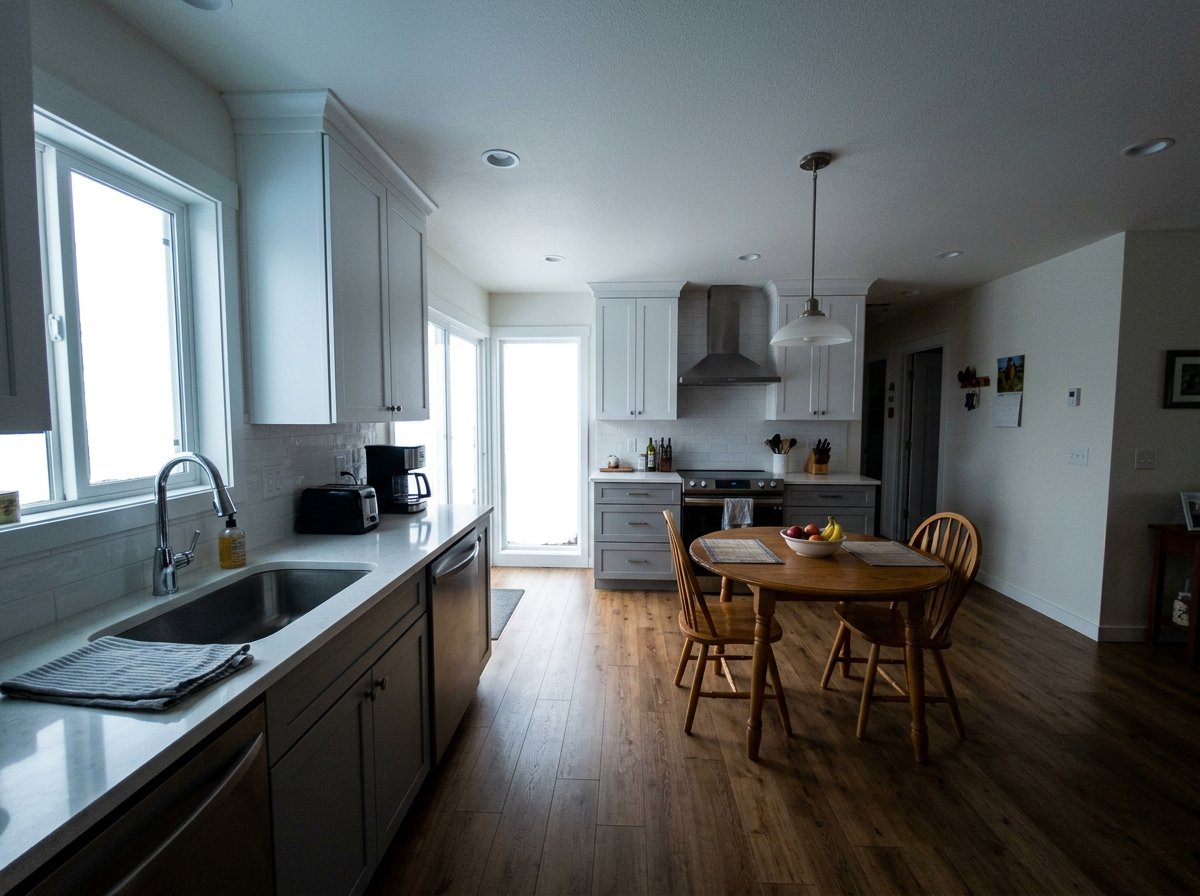
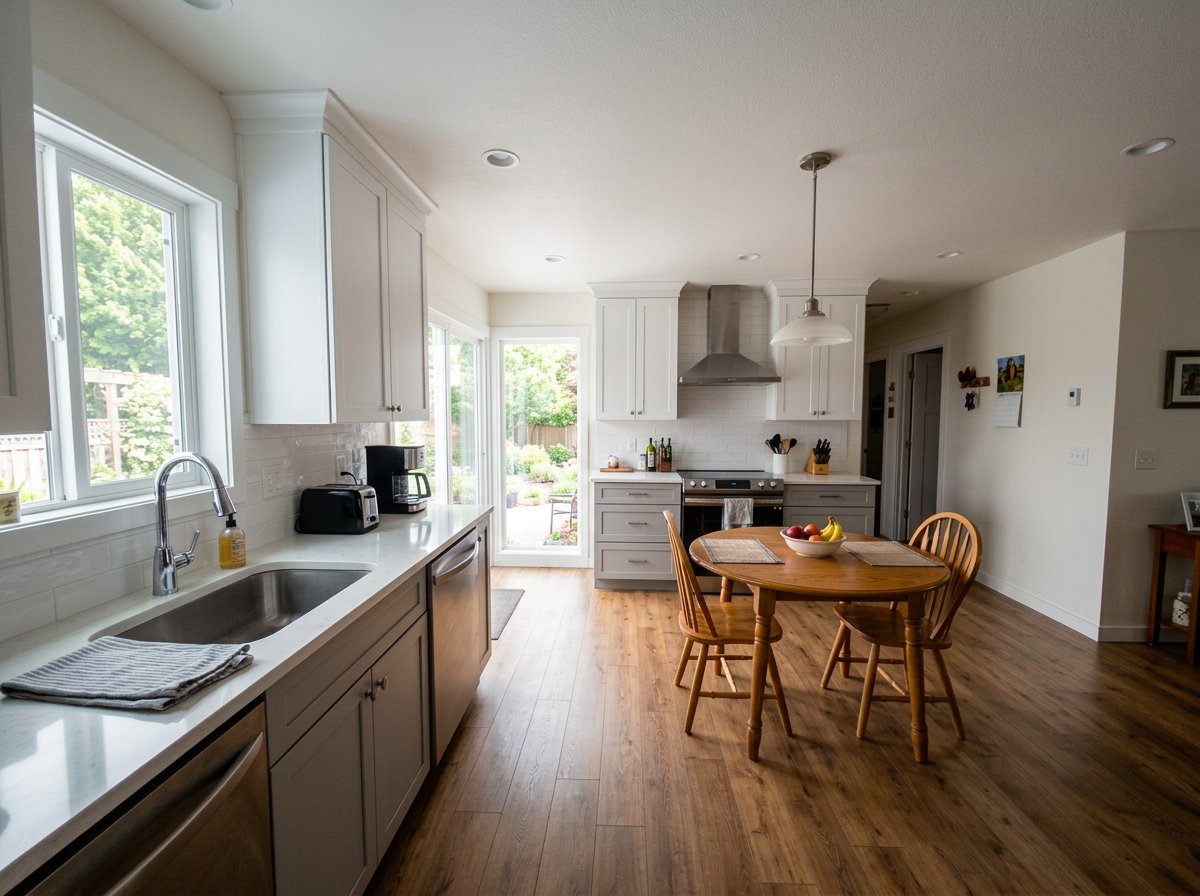
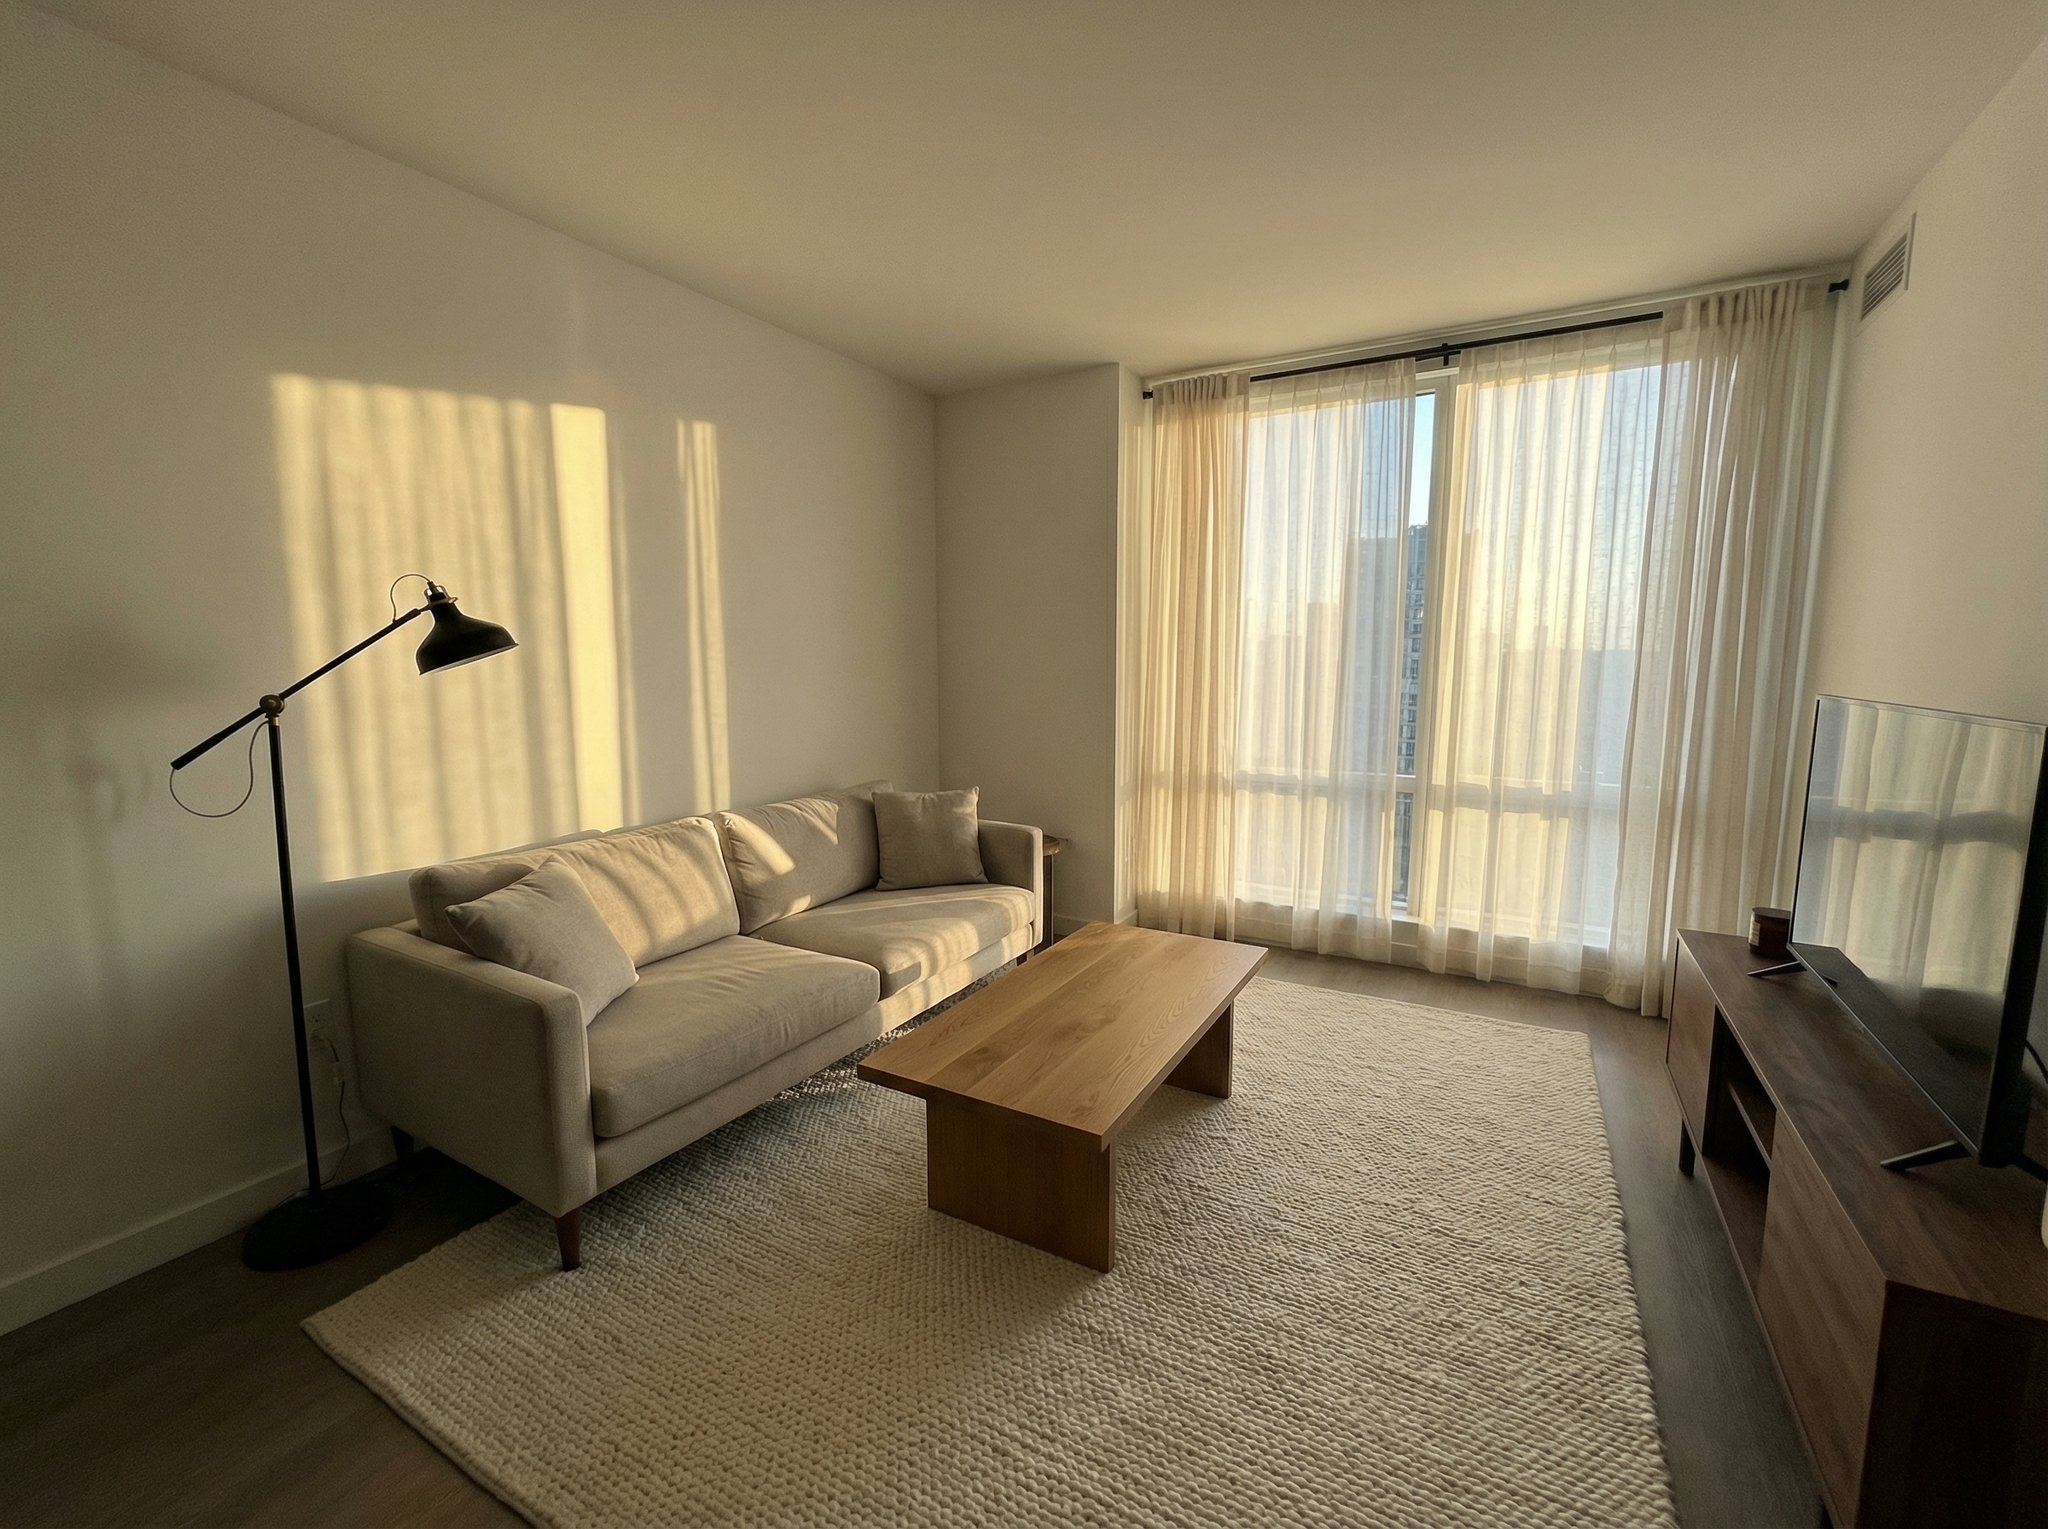
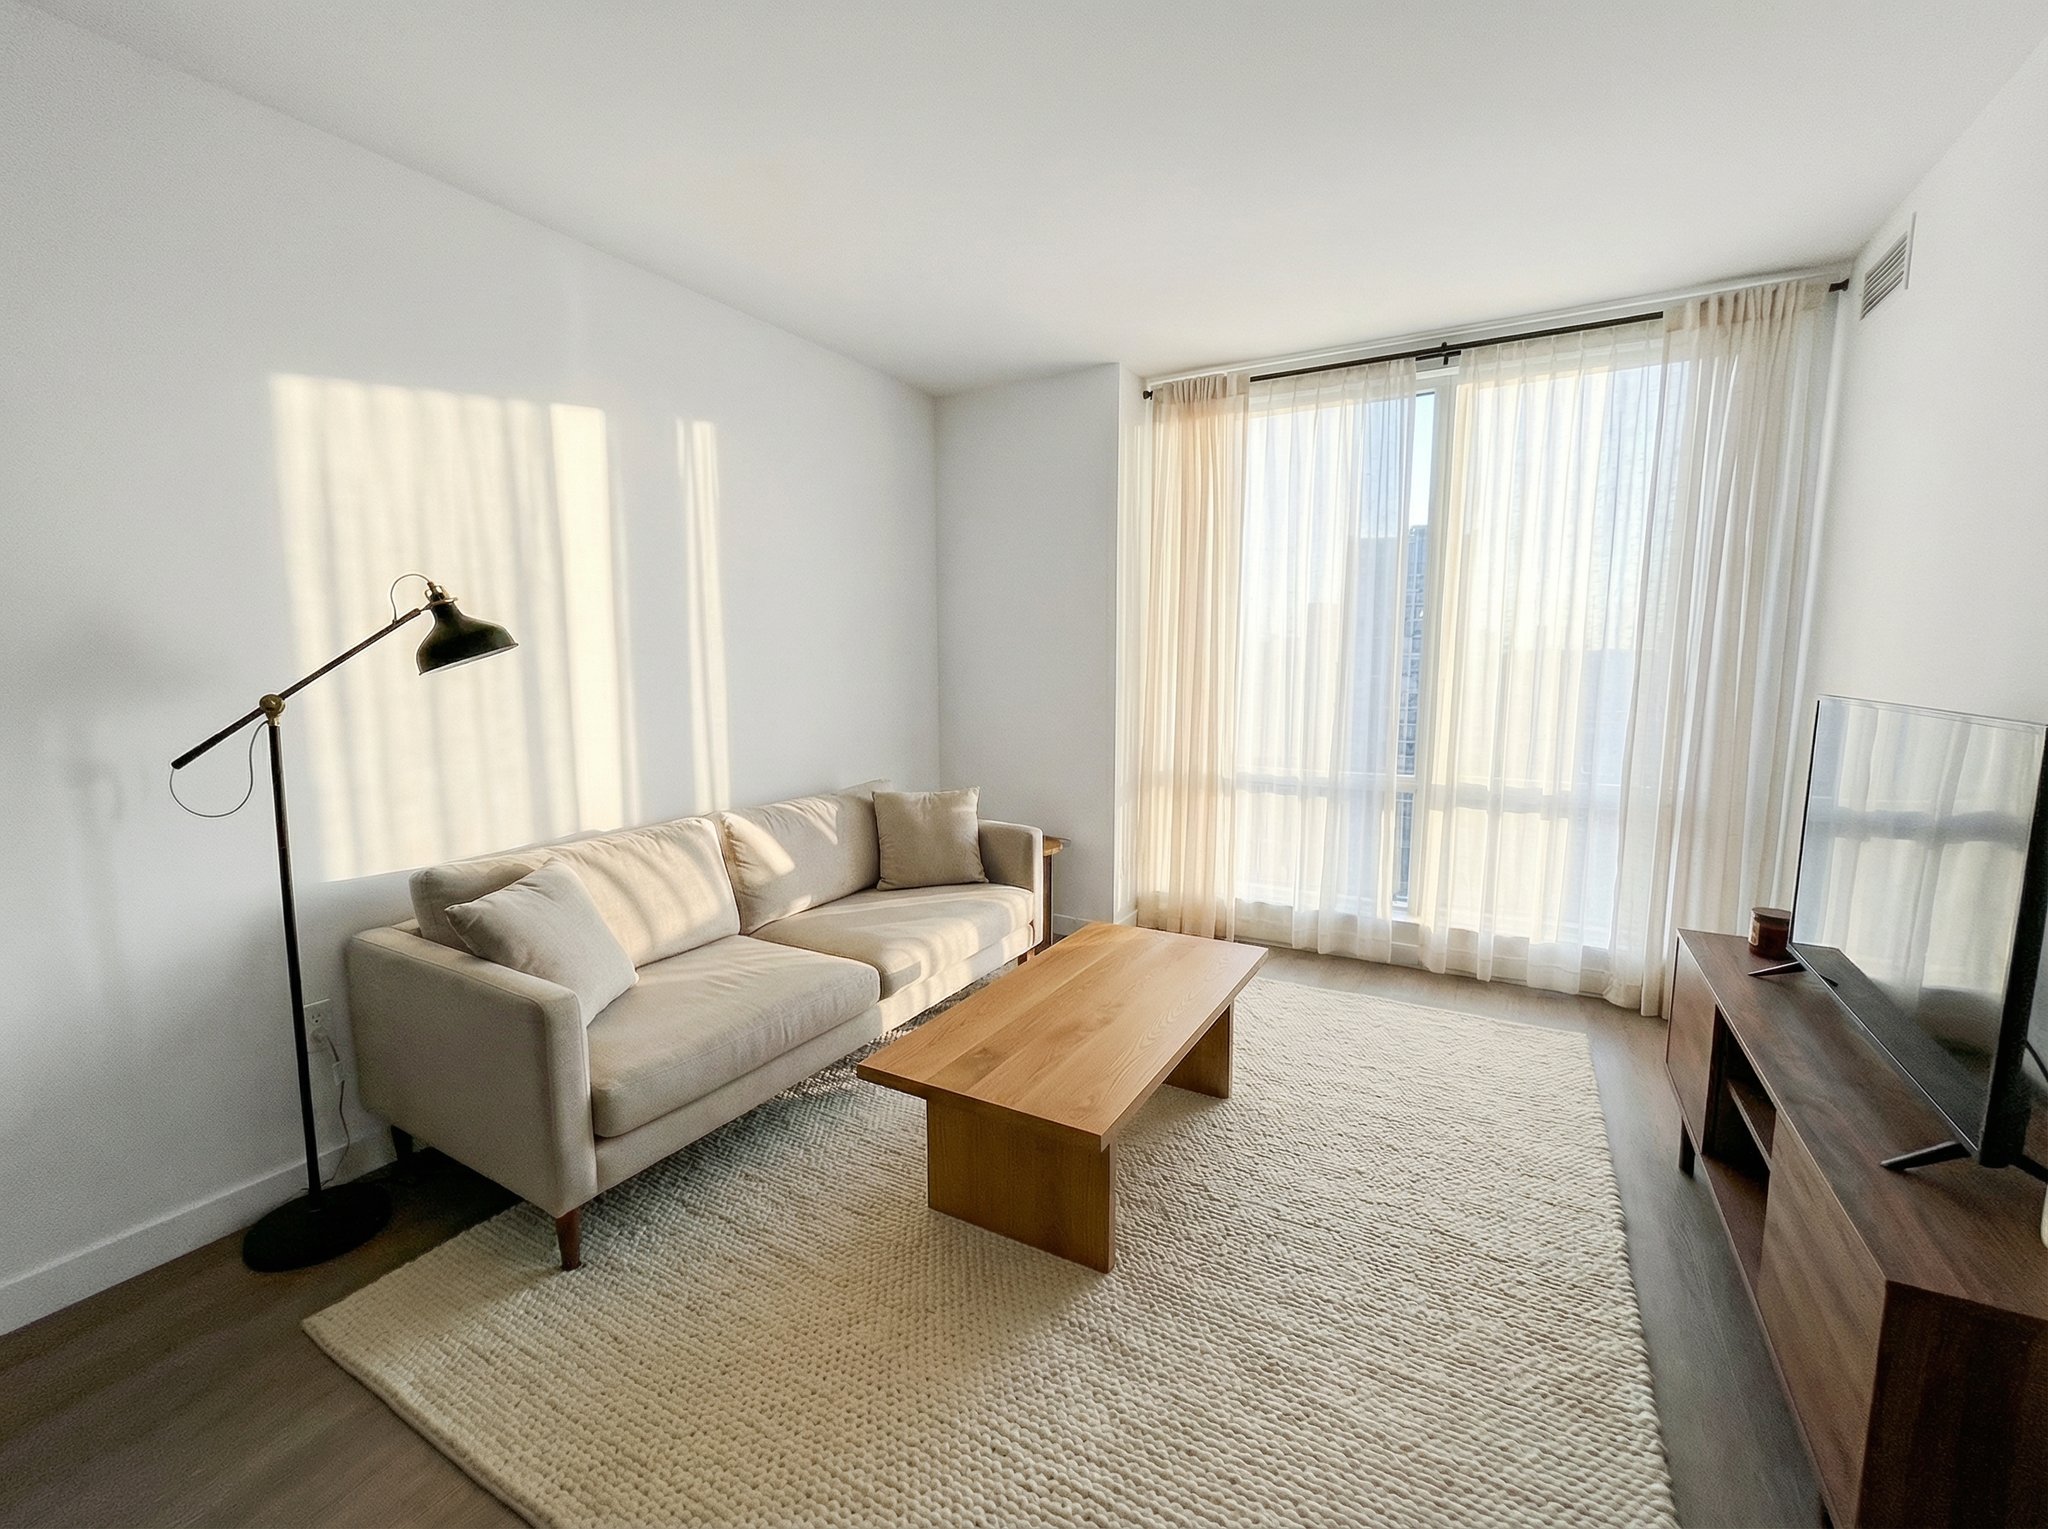
Example 01
A window-heavy room where the kitchen and dining area become easier to read without changing the space itself.
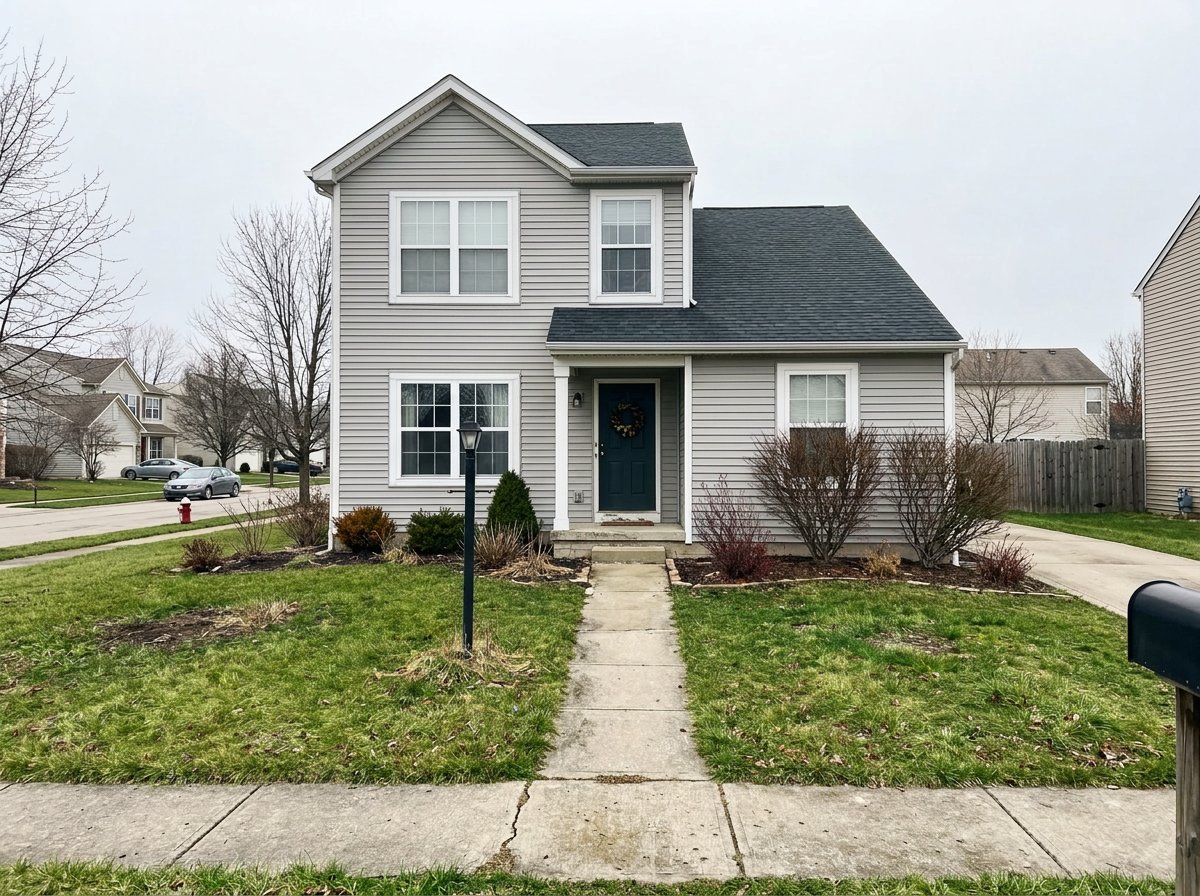
Example 02
A cleaner exterior hero shot with stronger curb appeal while keeping the same house, yard, and sky conditions.
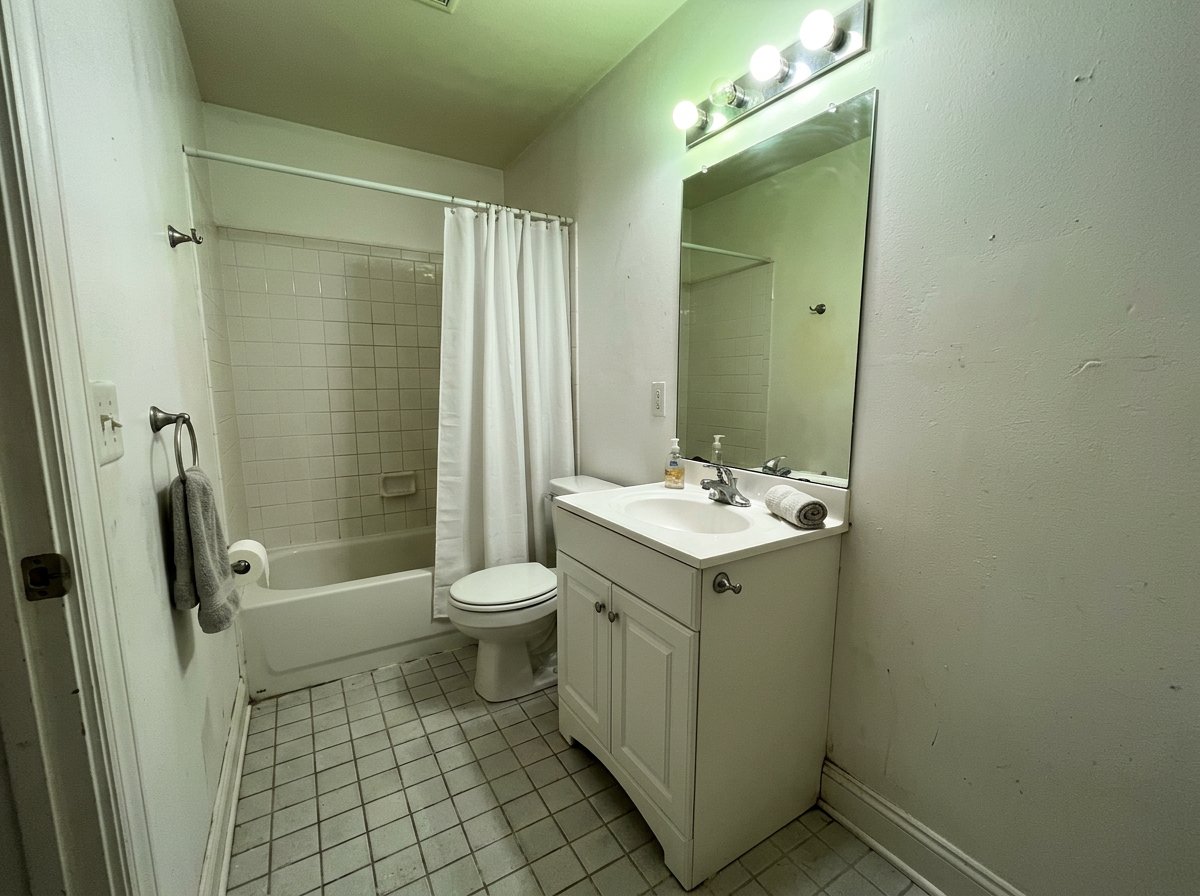
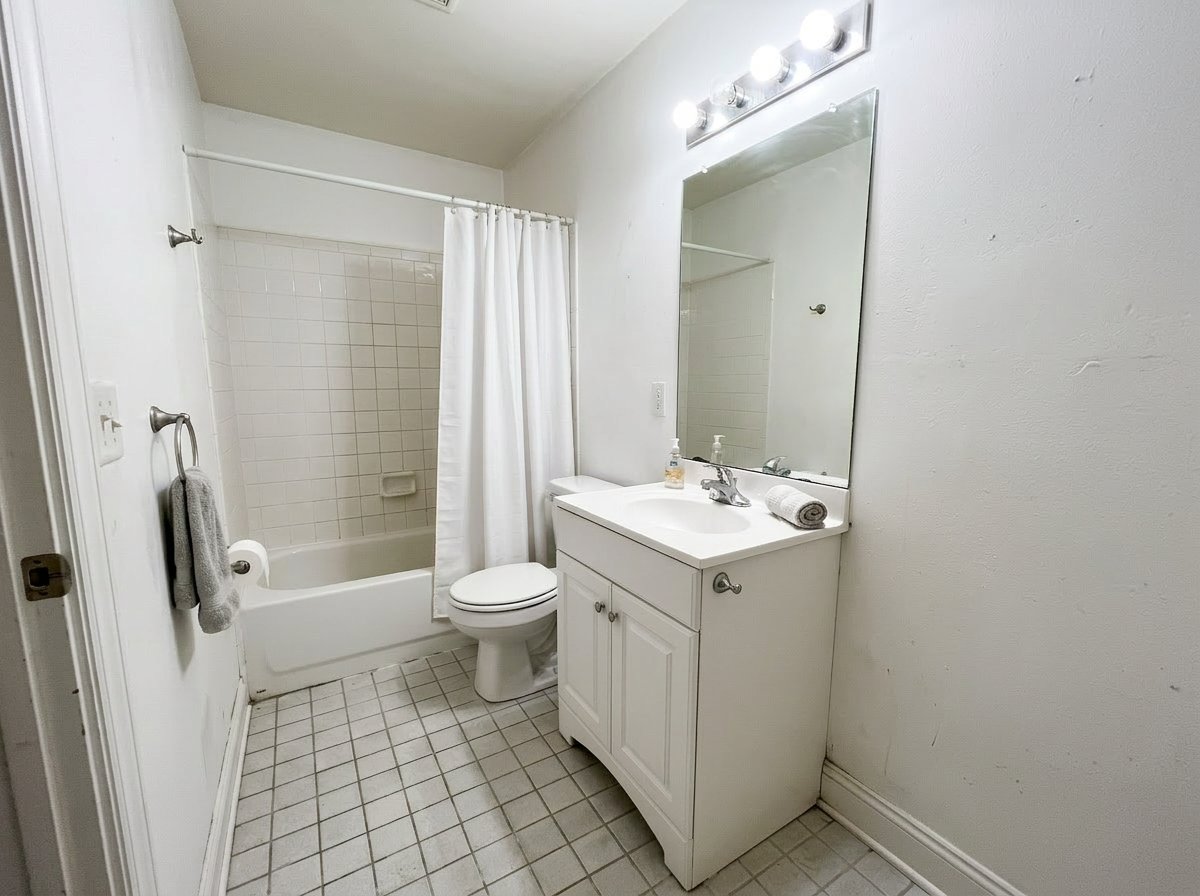
Example 03
A hard-to-shoot bathroom where color cast, glare, and shadows are corrected without changing the actual room.
If this page matches the job, the next step is usually the workflow, finishing tool, or inspiration page that gets you moving faster.
Feature
Use this workflow when the image already works creatively but needs a cleaner final export.
Feature
Launch prompt variations, ratios, and reference sets in one batch so your team reviews the full output set together.
Feature
Start from a reference image and transform it into edits, restyles, cleanups, and new visual directions.
Use case
Turn empty or weak room photos into furnished, marketable listing visuals with AI. Create staged room images for real estate and rental listings with HummingBytes.
Clean up exposure, straighten lines, and improve color while keeping the property true.