First frame
Use one still as the starting point for the motion you describe.
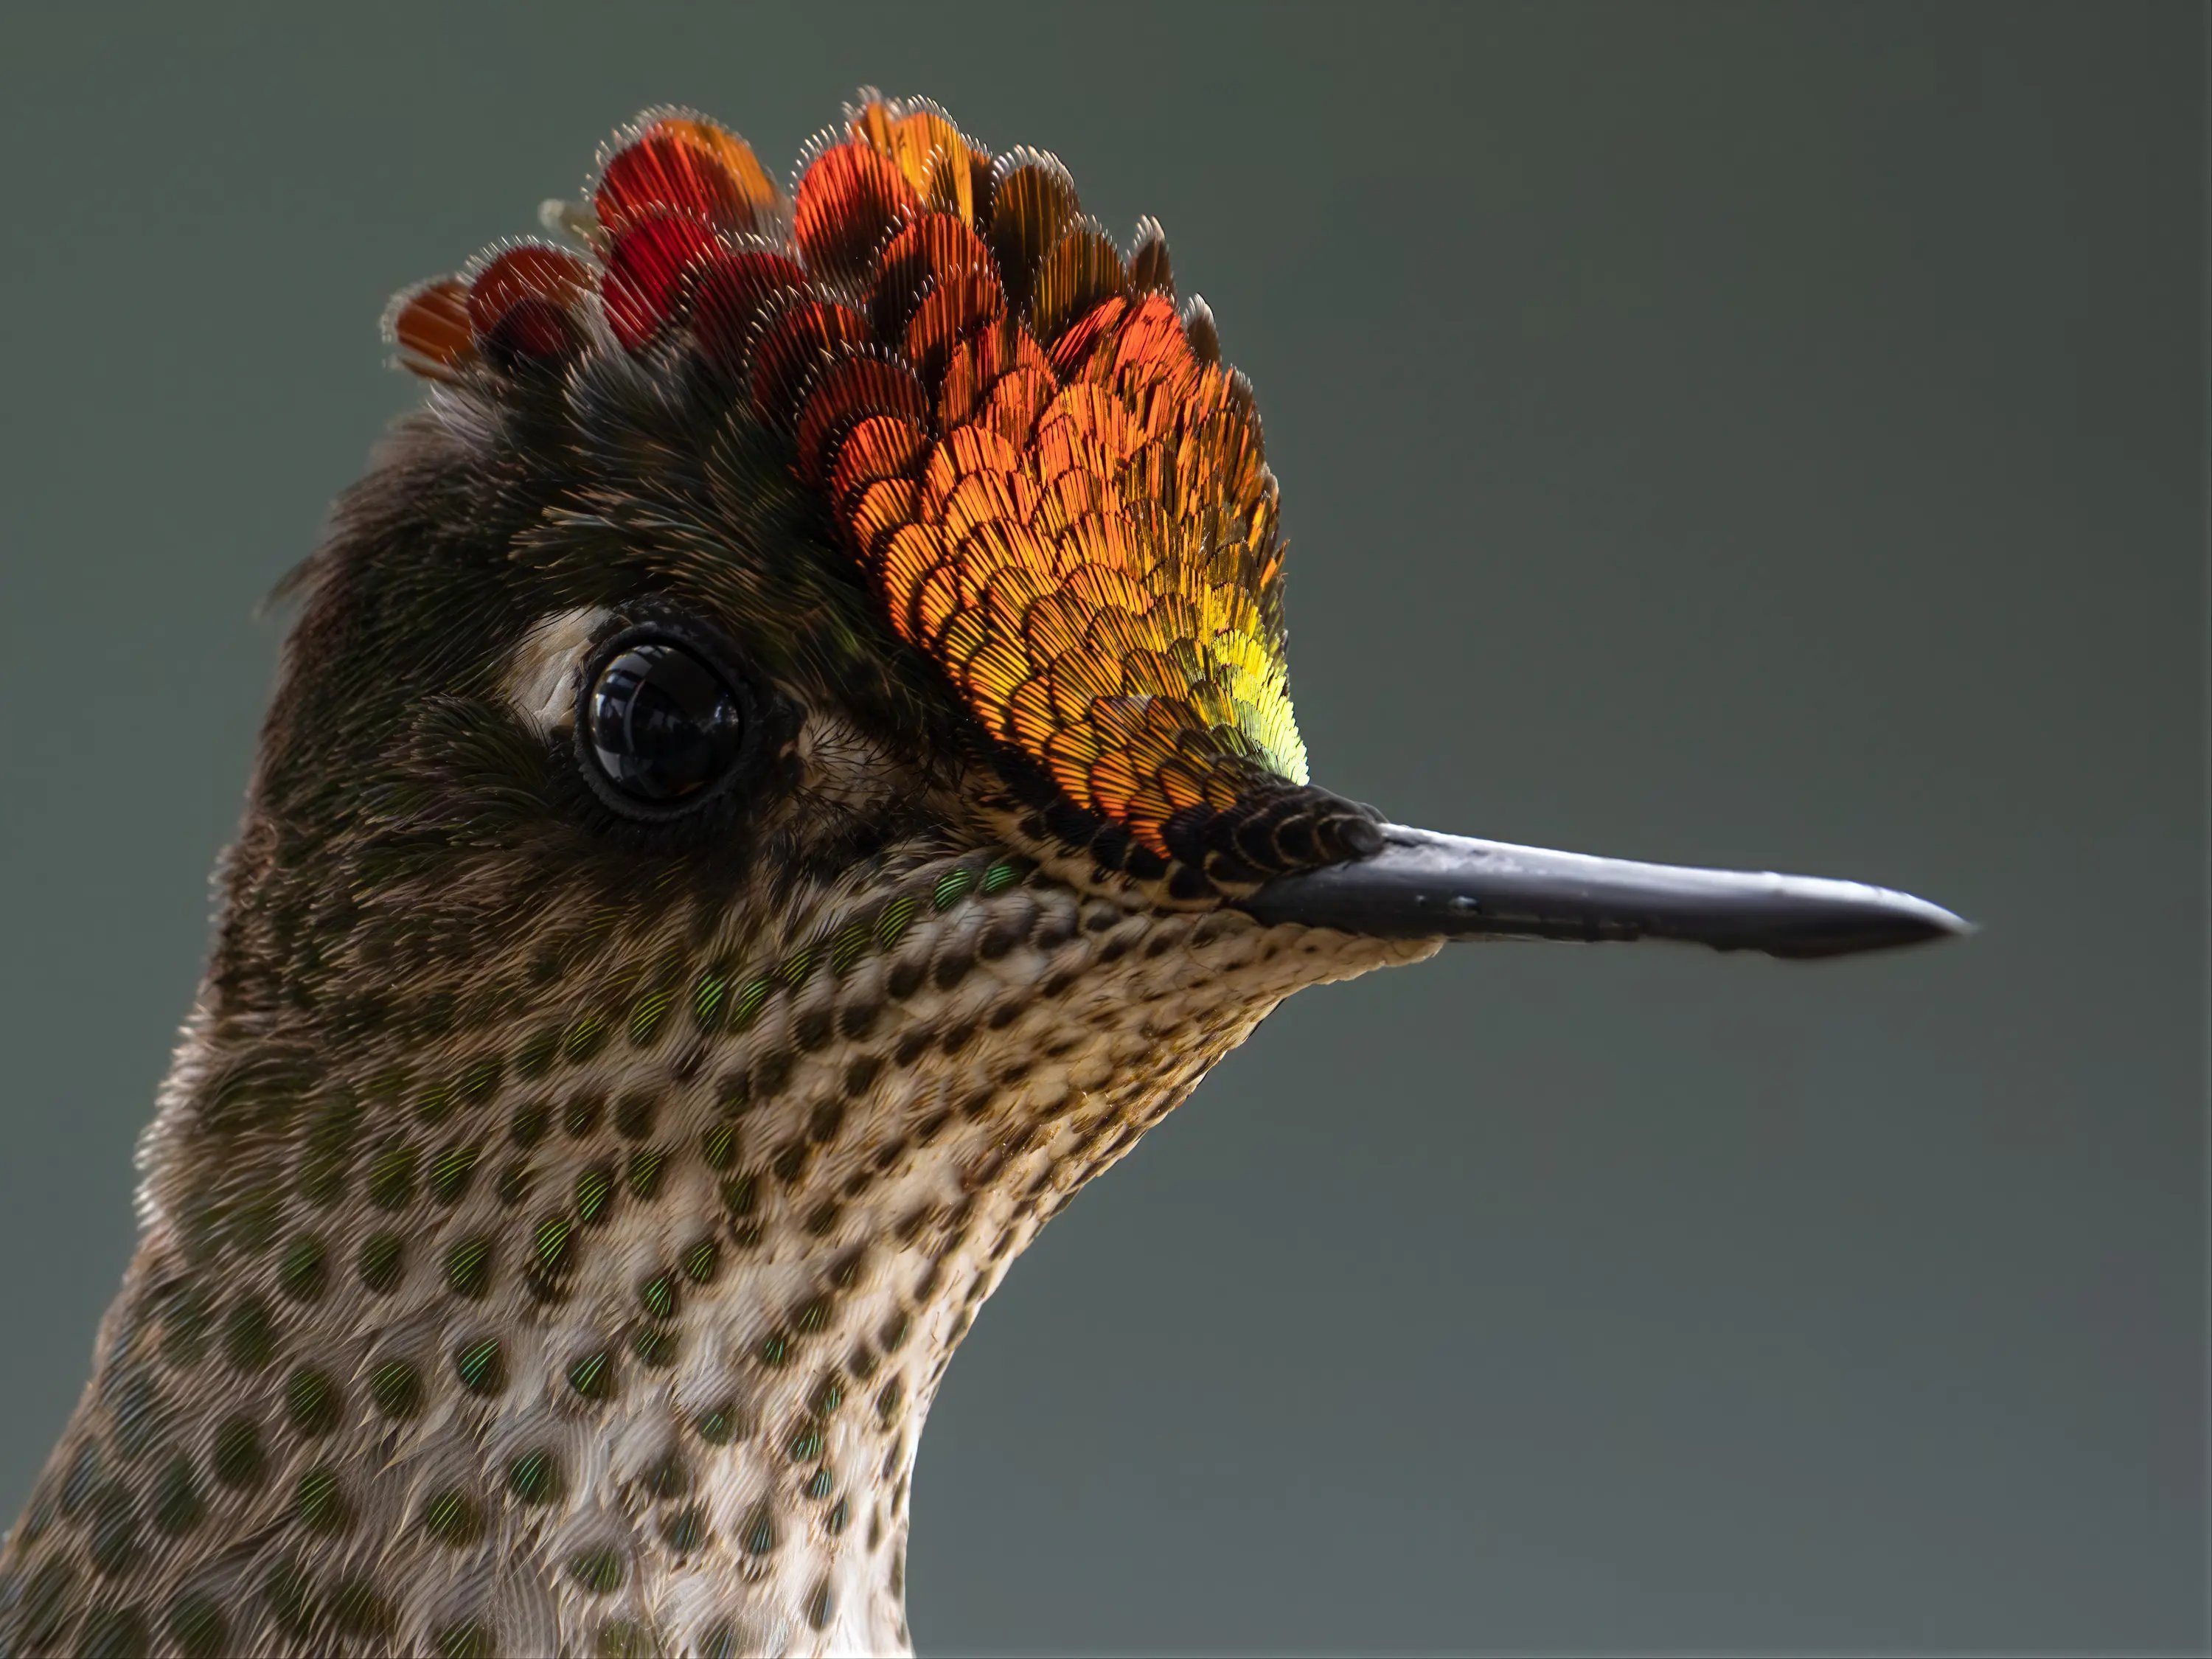
Start with an image and describe a camera move, a subject action or a change in atmosphere. Create a short clip with a supported video model.
Input modes, clip length and audio options depend on the model and plan.
Watch the clips
Play the hummingbird, interior, portrait and city clips to explore different kinds of movement. Each example opens with playback controls.
Three ways image-to-video can start
Available input modes depend on the selected model. Use the mode that fits the material you already have.
Use one still as the starting point for the motion you describe.
Provide a starting and ending image to guide the transition when the model supports both.
Give the model visual cues for subjects, products or scenes. Reference limits depend on the model.
Choose an image with a clear subject. Describe the movement and check the model’s input and output settings before generating.
Choose a still with a readable subject and enough room for the movement you want.
Focus on a camera move, a subject action or the atmosphere. Set the clip options supported by your model.
Review the entire clip for pacing, unexpected changes and visual artifacts before using it.
Model guidance
Compare the available model settings and credit estimate before each run. Access depends on your plan.
Choose a model that accepts your first frame, frame pair or reference set. These modes are not interchangeable.
Video length, resolution and audio controls vary by model. Check the current options in the generation form.
Watch for drifting faces, changing product details and unwanted motion. A good first frame does not guarantee a usable final clip.
A still image can guide a short video. For longer edits, sequencing or a finished campaign, review and assemble your assets separately.
Explore related tools, creative examples and more starting points.
HummingBytes